Document Designer is a new app that is available for free in the Simply CRM app store. It works a template builder that allows you to craft beautiful documents and files for your company. Using Document Designer, you can now create highly professional, branded documents for your organization.
From invoices to quotes, web forms and brochures, you can make it all. No special design skills are necessary because our tool comes with the CK Editor built in. All you need to craft compelling templates is a basic understanding of HTML and the ability to use the drag-and-drop feature with predefined input fields.
Further, our Document Designer allows you to quickly edit and make changes to your PDF files. Just import them to your instance of Simply CRM, make the necessary changes in the Document Designer and then export them. It takes only a few minutes.
Want to learn more about how to install and use the Document Designer in Simply CRM? Check our detailed guide below for instructions.
How to install the Document Designer
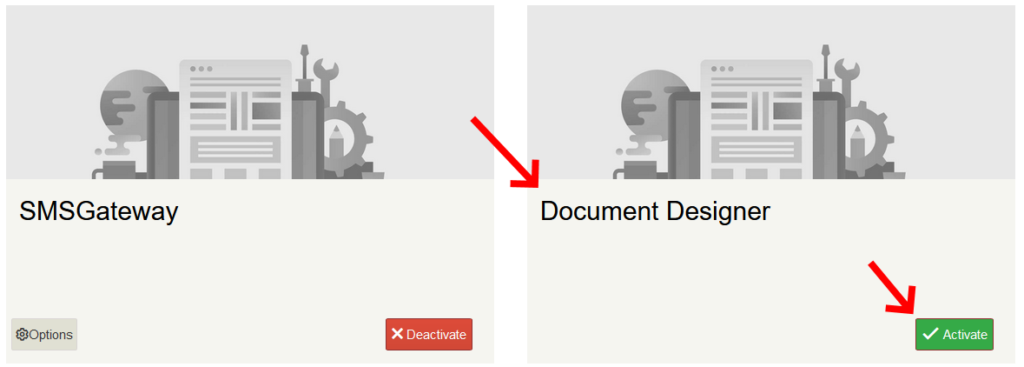
In order to set up the Document Designer, you’ll first need to activate the application from the App Store. To do that, go to Settings > App Management > Apps.
Locate the Document Designer app in the list and press the Activate button to turn on the app.
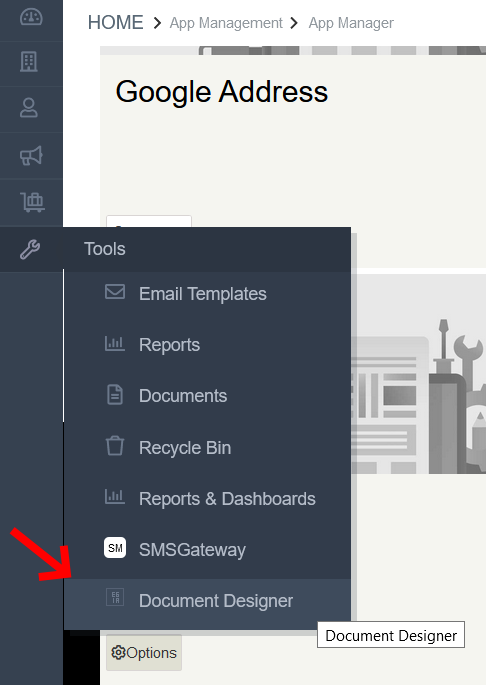
When you activate the app, it will become available to you through the menu on the left side. Simply click on Tools and select Document Designer to access the app.
This action will lead you to the app’s homepage, where you’ll see a list view of all the available document templates. Simply CRM allows you to can add, import or export the templates, using the buttons shown in the image below.
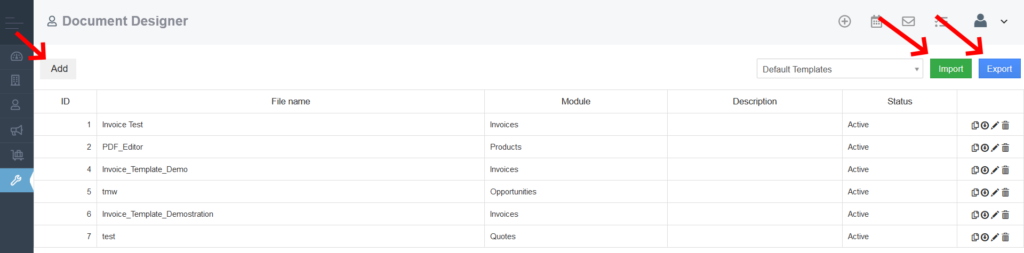
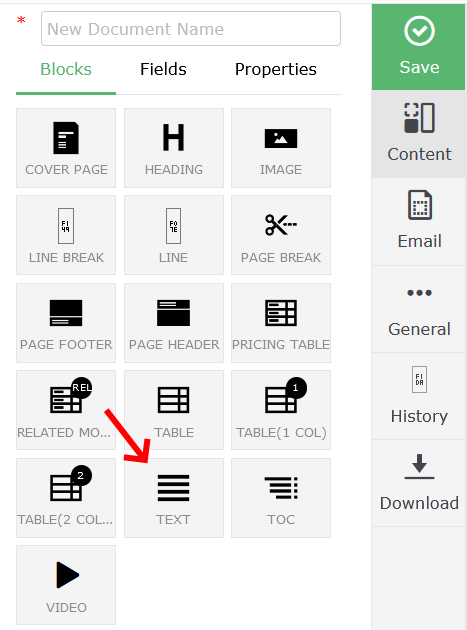
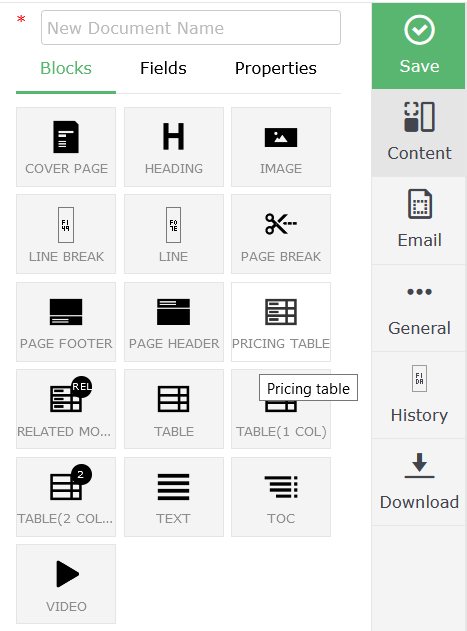
The Document Designer comes with several premade templates, which you can browse through in the list view. If you wish to create your very own template, you can just press on the Add button in the top left corner.
This way, you’ll open the editor which allows you to freely customize a document and create a template for it.
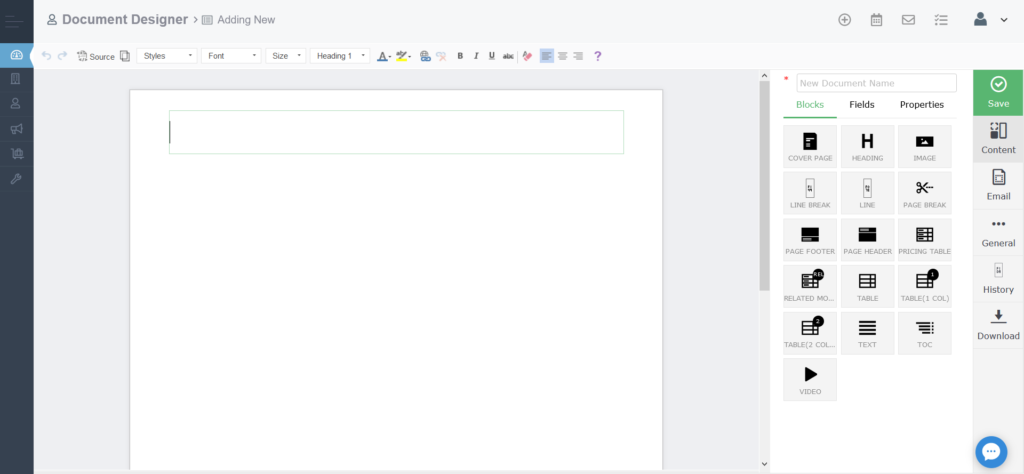
Note: The Document Designer is based on the CK Editor. For detailed instructions on how to use the CK Editor, please check their user guide.
To demonstrate how the editor works, we’ll walk you through the process of creating an invoice template in the Document Designer.
How to create a template using the Document Designer
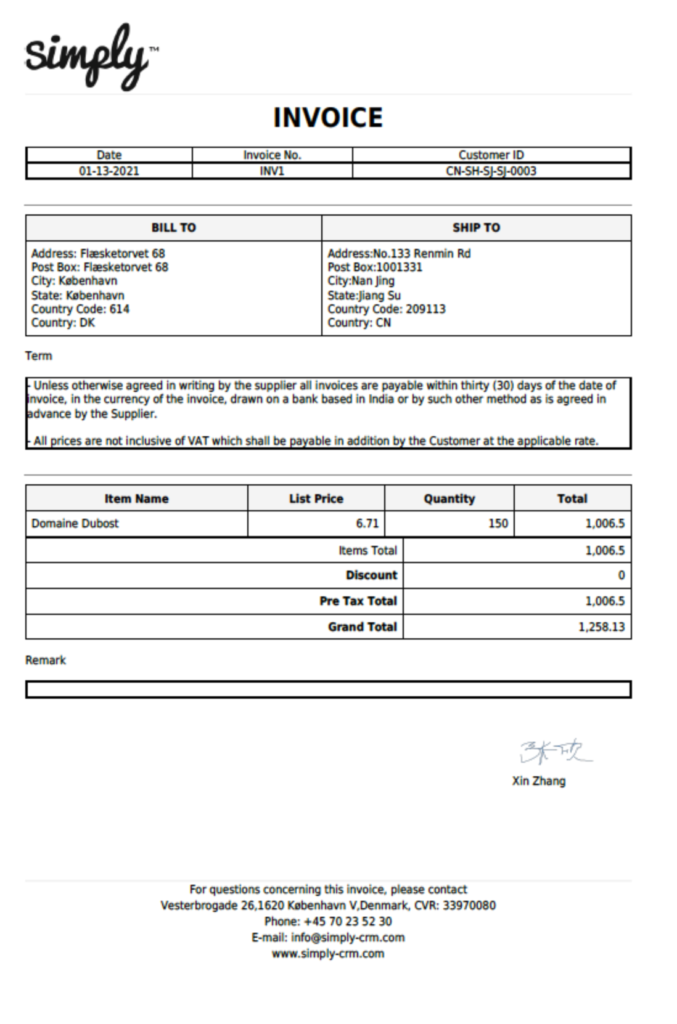
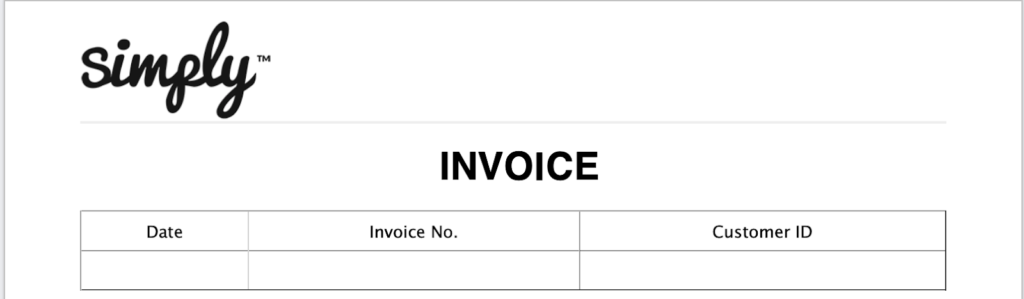
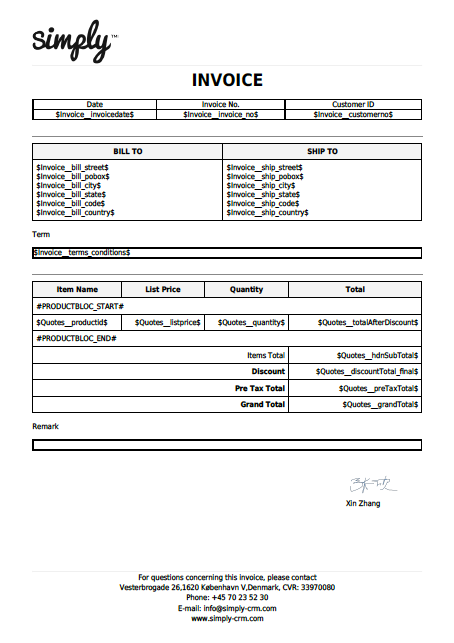
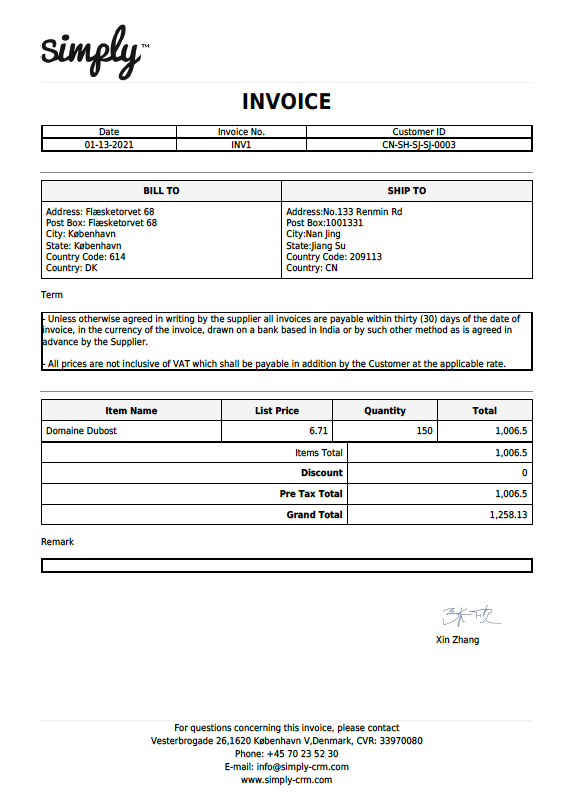
Before you start creating a template, we advise you to try to visualize the end product of your work. For our example, we’ll use the following invoice form as our end goal:
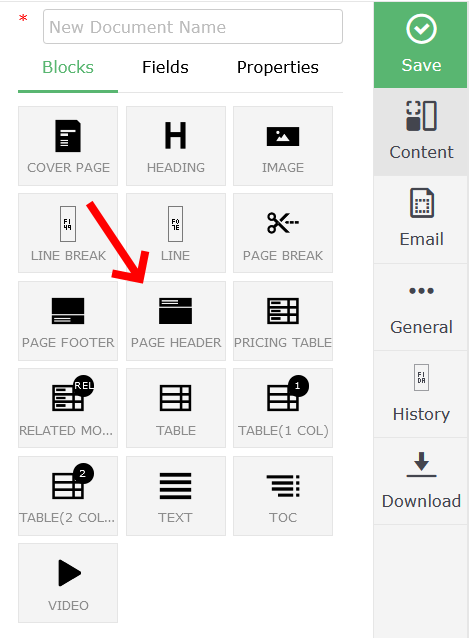
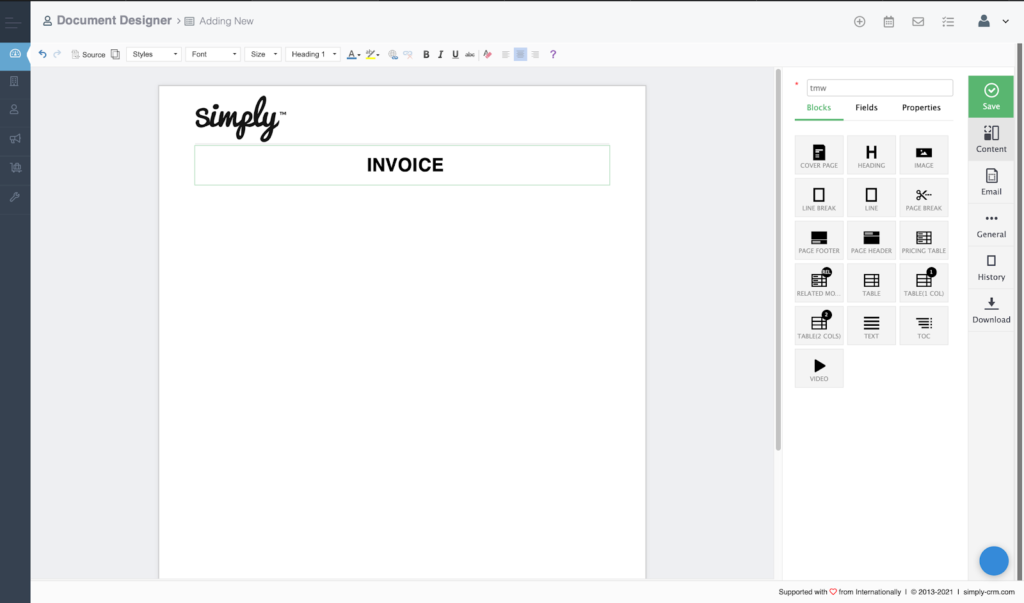
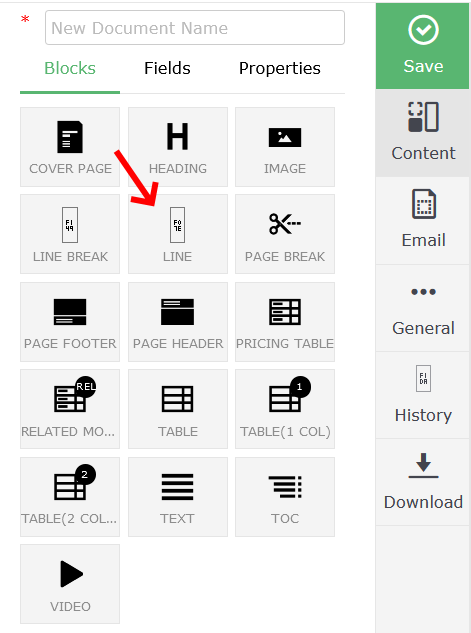
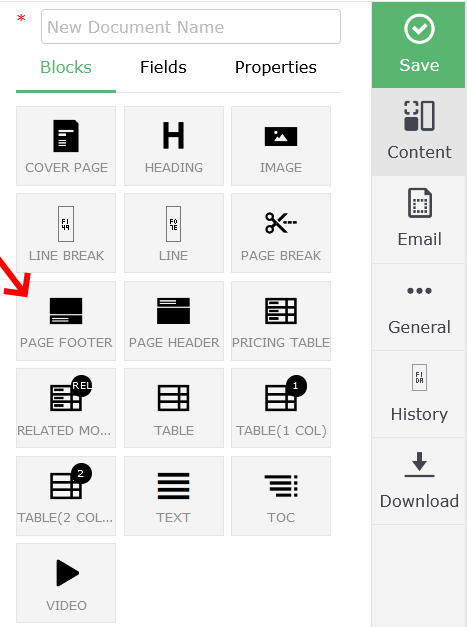
For starters, we see that the company logo is in the top left corner. We’ll add a header element to that part of the document. To add a heading to your template, simply press the Page Header option on the right.
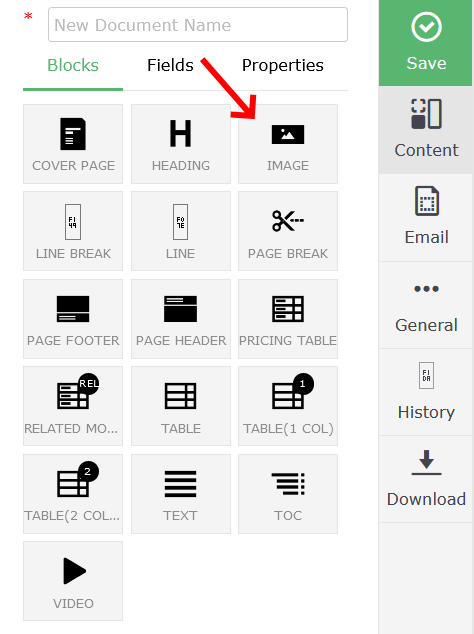
Next, press the image icon to add the logo image to your heading.
Click on the image to edit its properties and upload your logo.
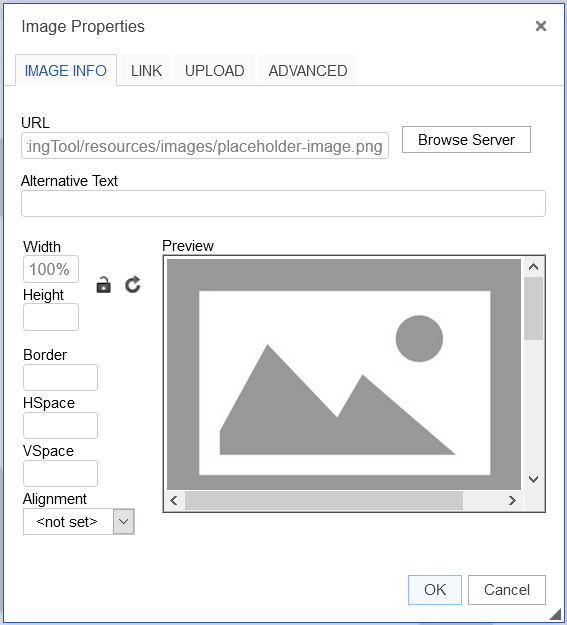
Head over to the Upload tab and select the image you want to upload. Once image is uploaded, press the Send it to the Server button to upload the image to the server side.
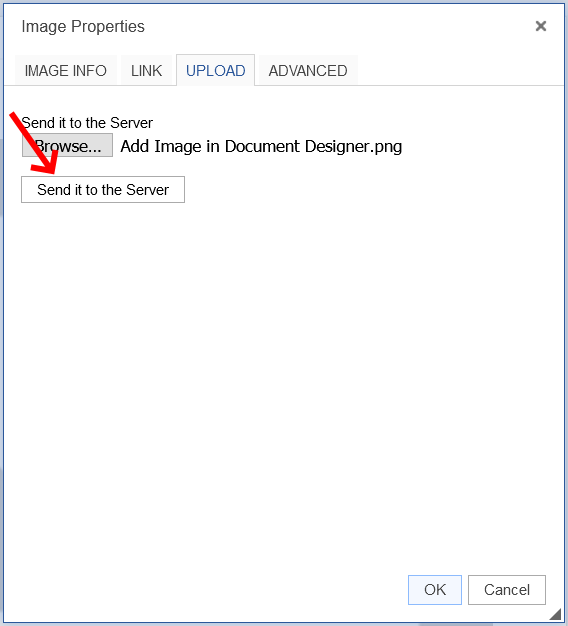
Move over to the Image Info tab if you want to specify the image height, width, borders or alt text.
When you’re done configuring the image settings, press OK.
The company logo should appear in your template, as shown below.
Next, we’ll want to add the title for the template that we’re creating.
To do that, we’ll use the header element once more, but this time we’ll simply type out the title and center the text.
After adding the title, we’ll focus on creating the document structure using the text elements.
To create our template, we’ll need three columns of text: Date, Invoice number and Customer ID. Therefore, we’ll use the table option from the top menu.

This will lead us to a pop-up window where we’ll set up the table properties, such as columns, rows, headers, etc.
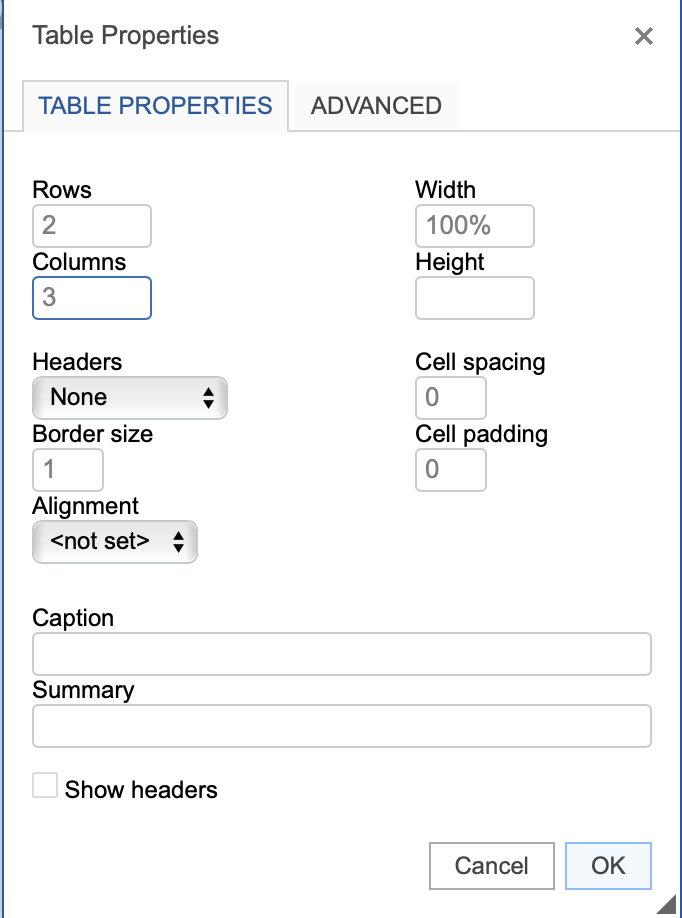
When you configure all the settings, press OK.
Next, you can simply type in the column names to create the following overview:
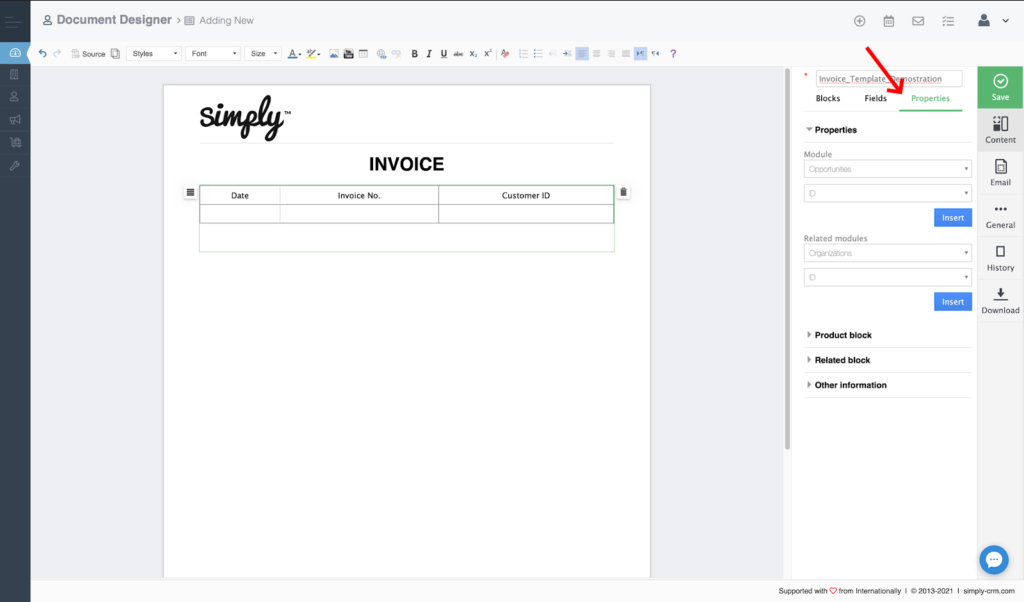
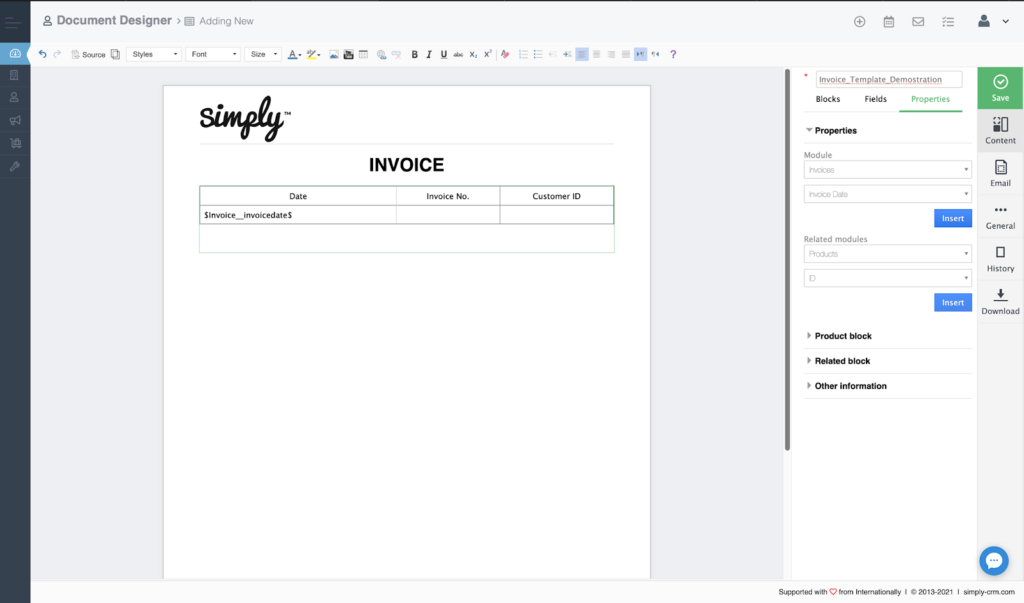
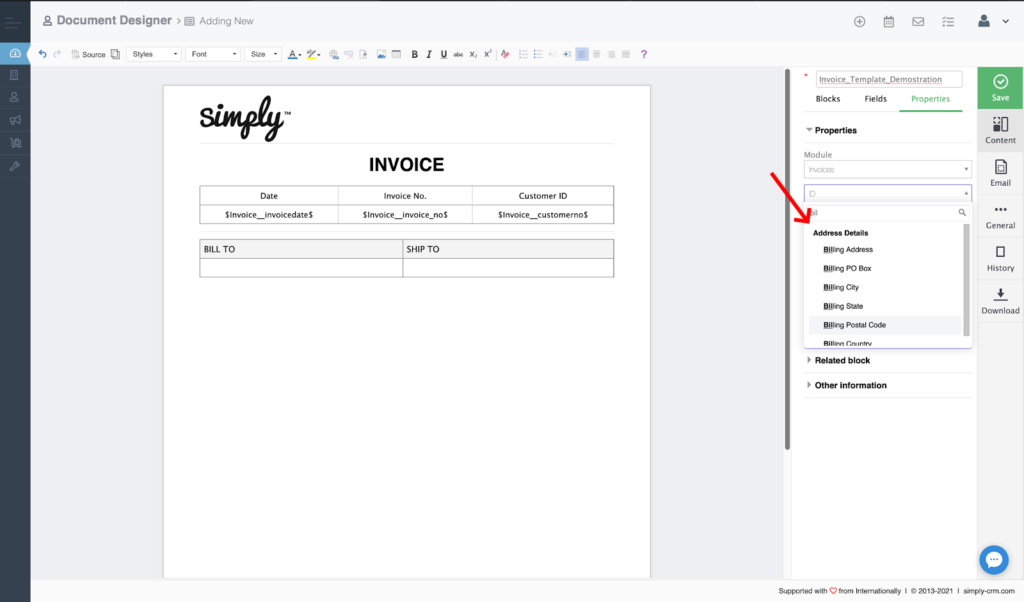
After we create the table layout, we’ll add records from the Invoices module in Simply CRM. To achieve that, we’ll click on Properties on the right side.
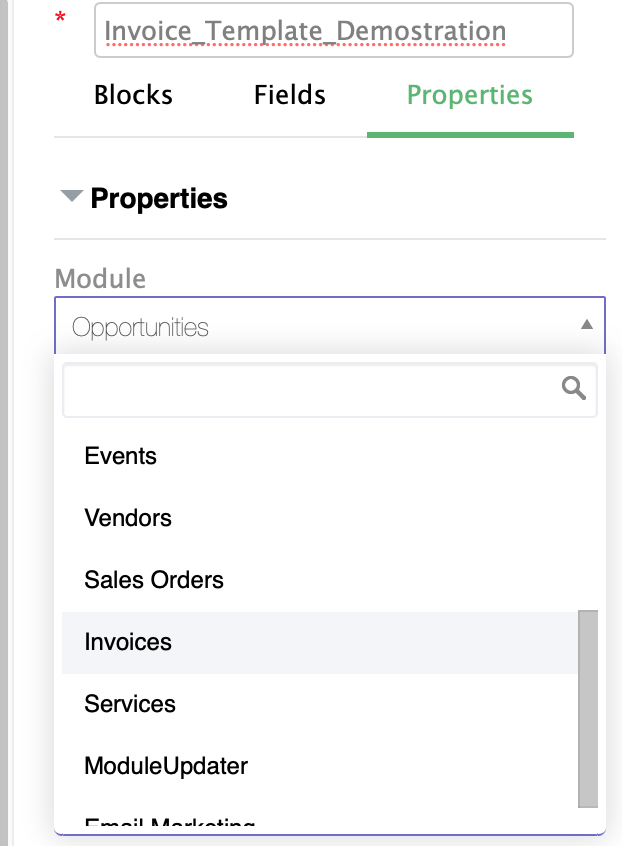
In the Module field, we’ll select Invoices.
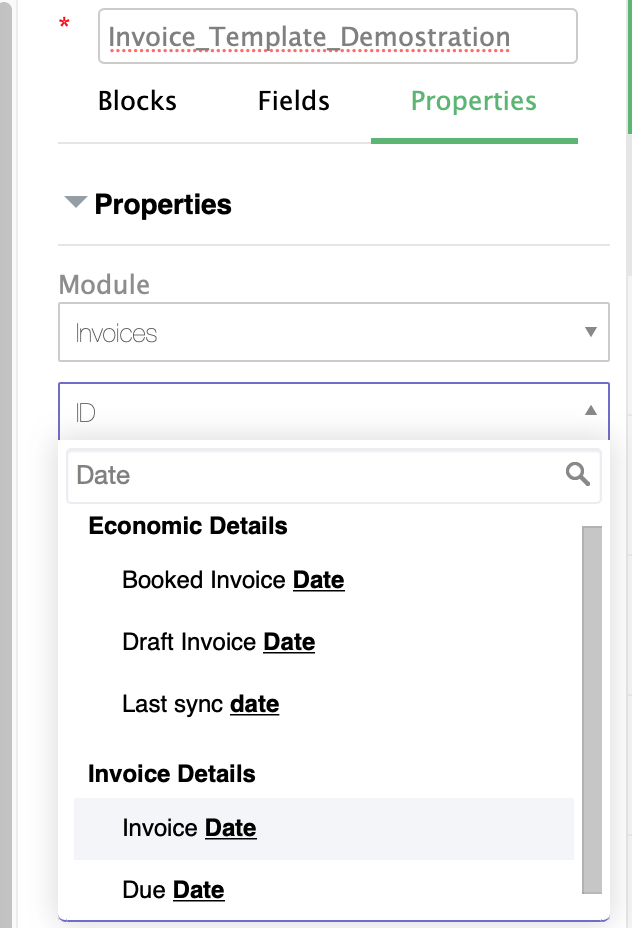
In the Field dropdown, we’ll choose Invoice Date.
Press the table cell under Date and then click Insert. The Date cell will be populated with the label $Invoice__invoicedate$, which will always be automatically filled in with the invoice date value from the invoice you select in the Invoices module.
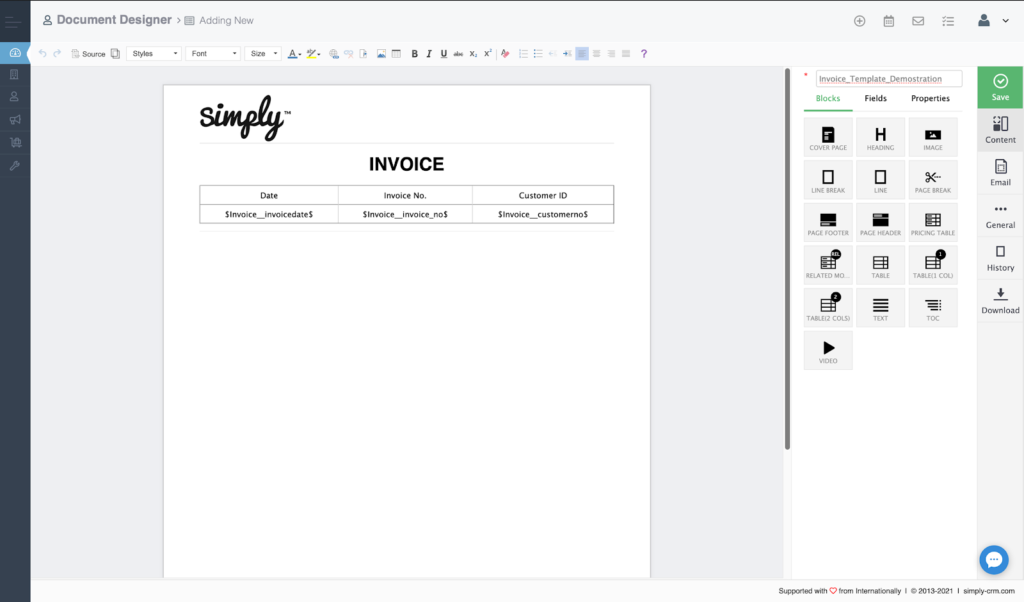
We’ll repeat the same process for the remaining two columns in our invoice table. Instead of invoice date, we’ll enter the invoice number and customer ID labels, as shown in the image below.

Next, we’ll add a Line element, which will function as a delimiter that separates the invoice table from the rest of the document.
After we add the line, our template will have the following form:
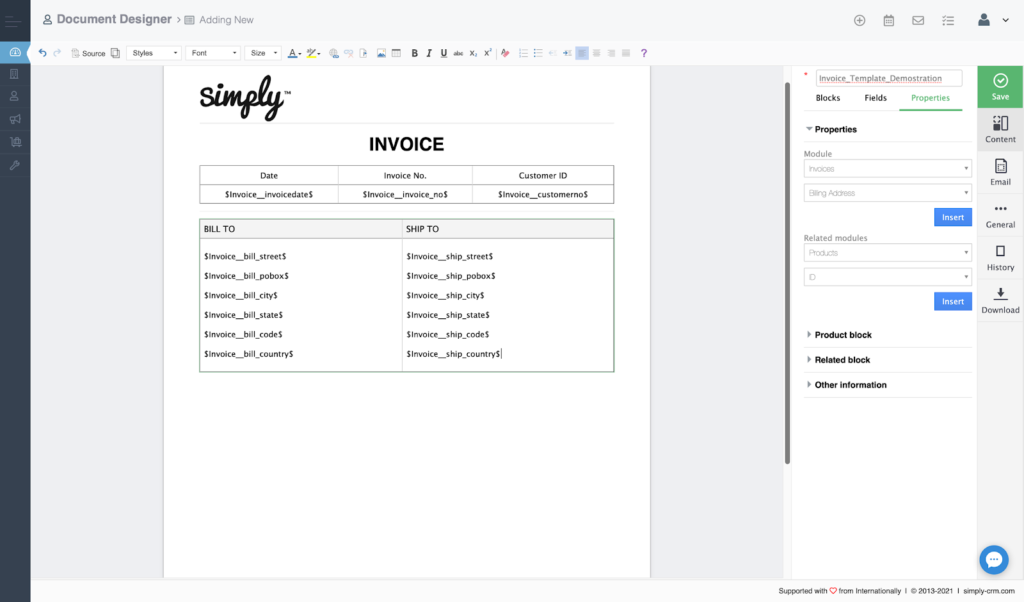
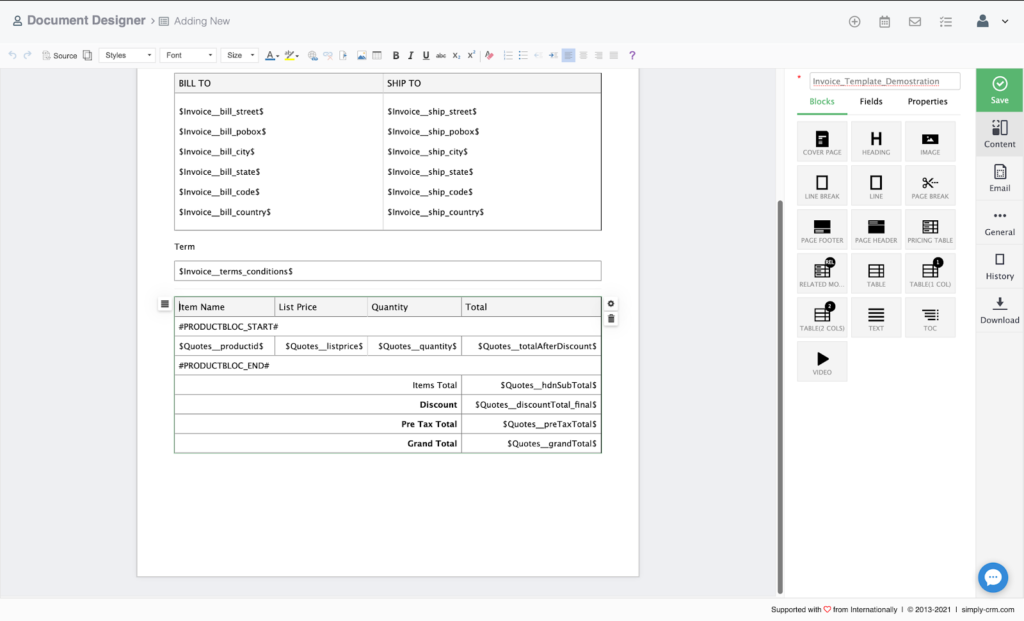
Below the line, we’ll add the billing and shipping information. We’ll turn to the tables element once more and add a table with two rows.
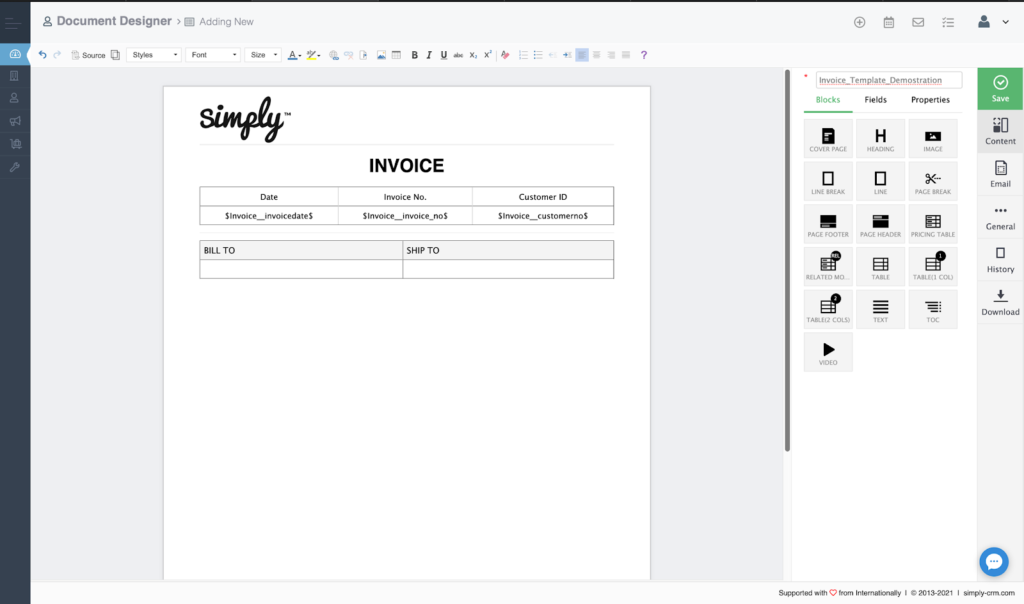
Then, we’ll use the Properties option to add the labels for all the necessary billing and shipping details.
This way, we’ll produce the following table:
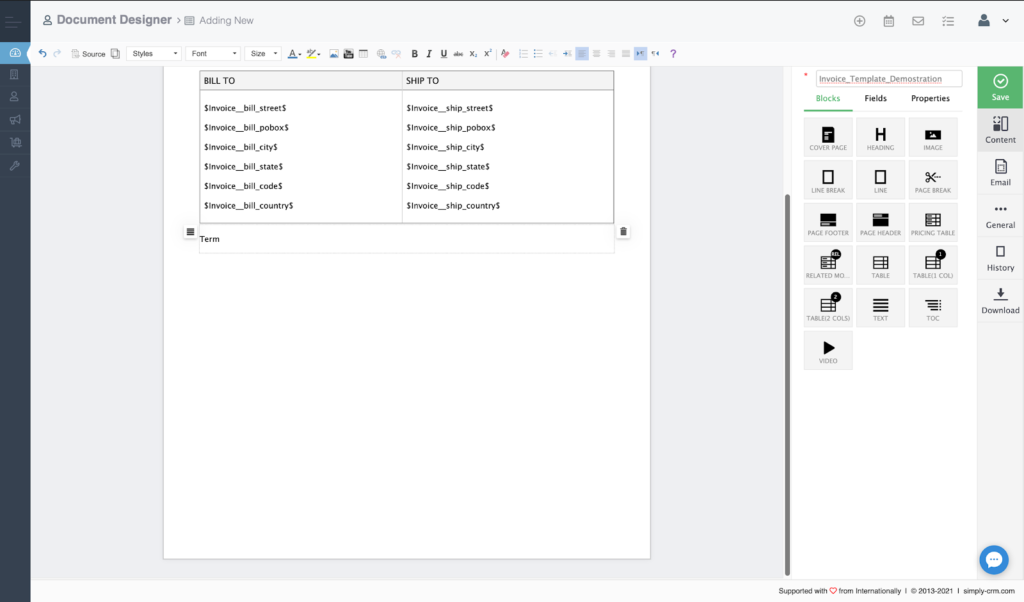
Once we’re done with the billing and shipping information, we’ll focus on creating the Terms section. We’ll start by adding a new heading, as shown below:
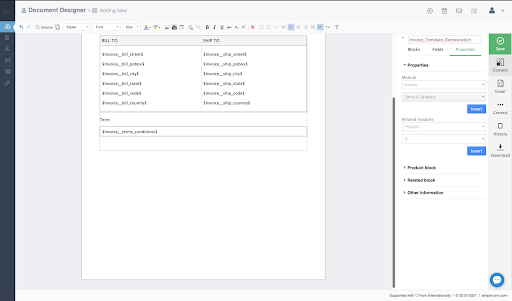
Then, we’ll add a table element with a single row and fill it with the terms and conditions label from the Properties option to create the following table:
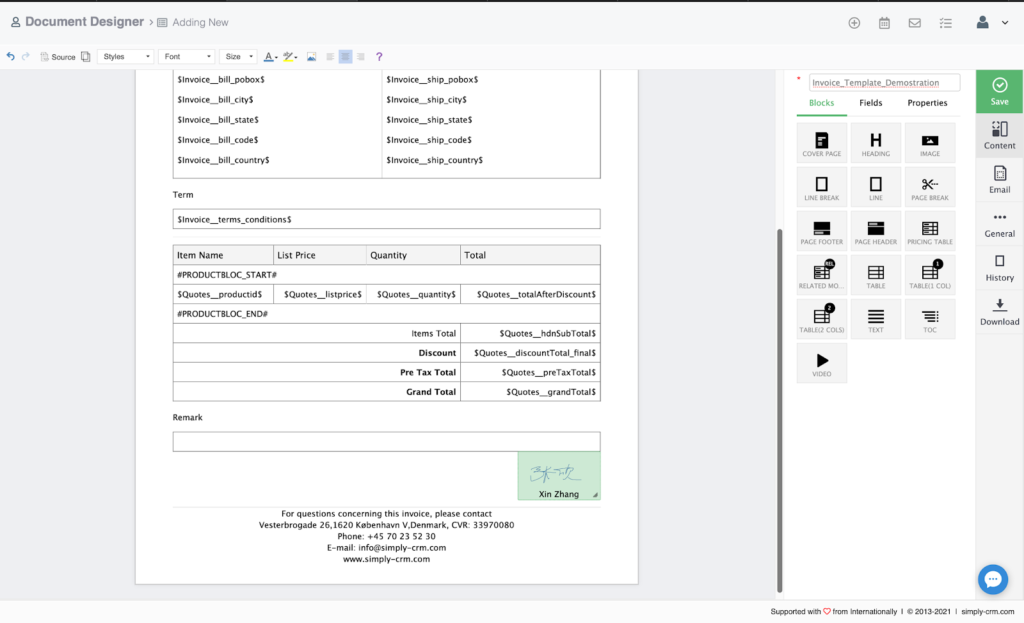
Now, we’ll add the pricing information to our table by using the Pricing Table option from the right side.
By default, the pricing table will be filled in with all the necessary labels.
The next step for us is to add a section for the invoice remarks. You can simply use a text element or clone and edit the Terms section.
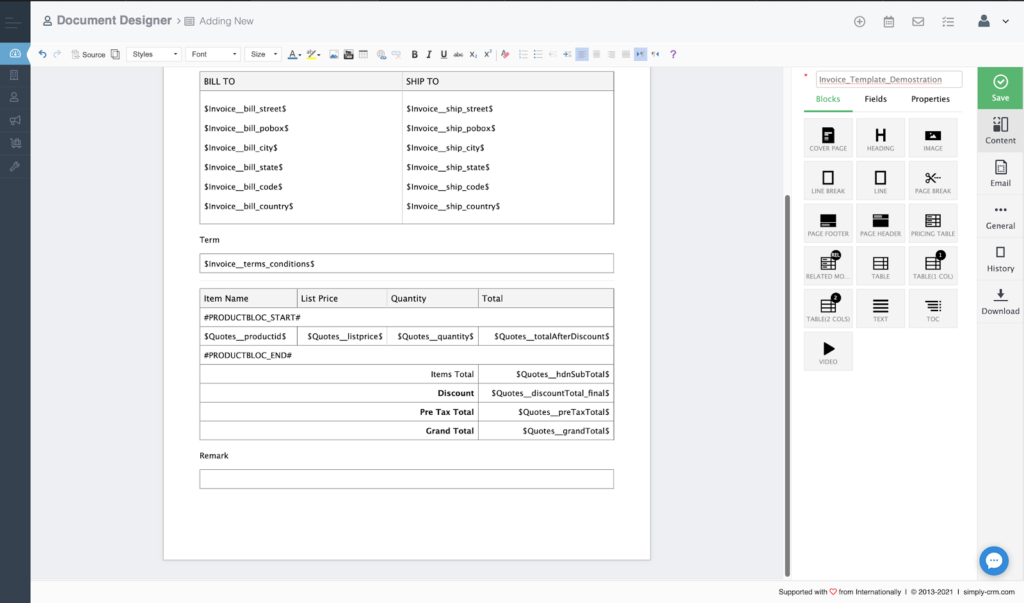
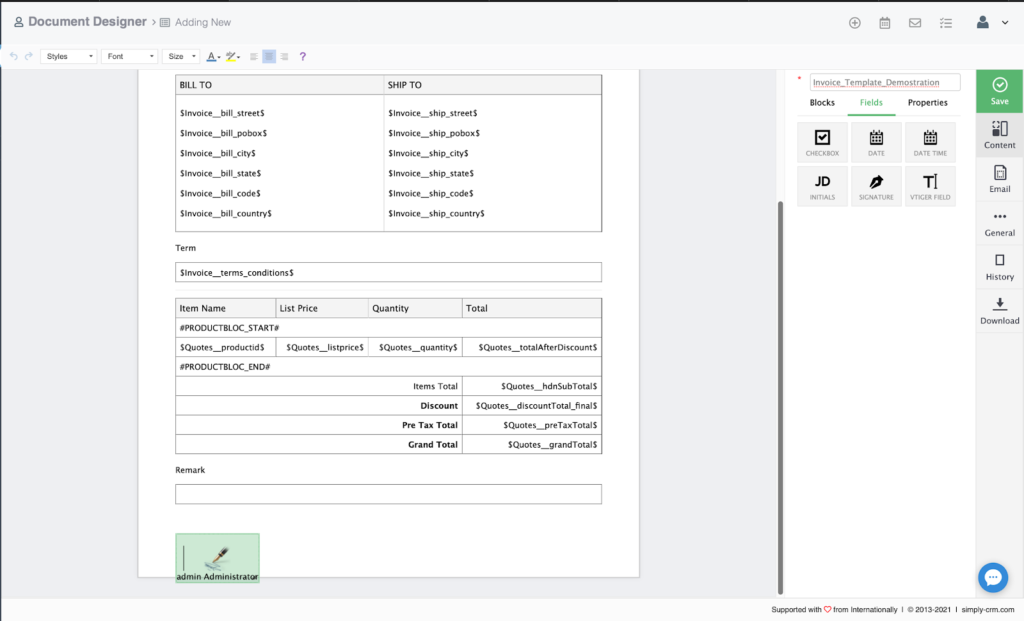
To make the document official, we’ll add an electric signature element to it. However, in order to add this element, we’ll need to expand the remarks section, as the electric signature element always needs to be created within a text element.
You’ll find the Signature element under Fields on the right side of the editor.
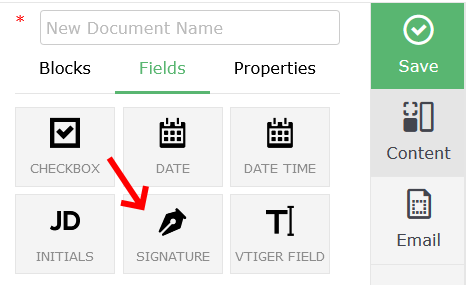
Like with any other element, we’ll just drag and drop the signature to our preferred position.
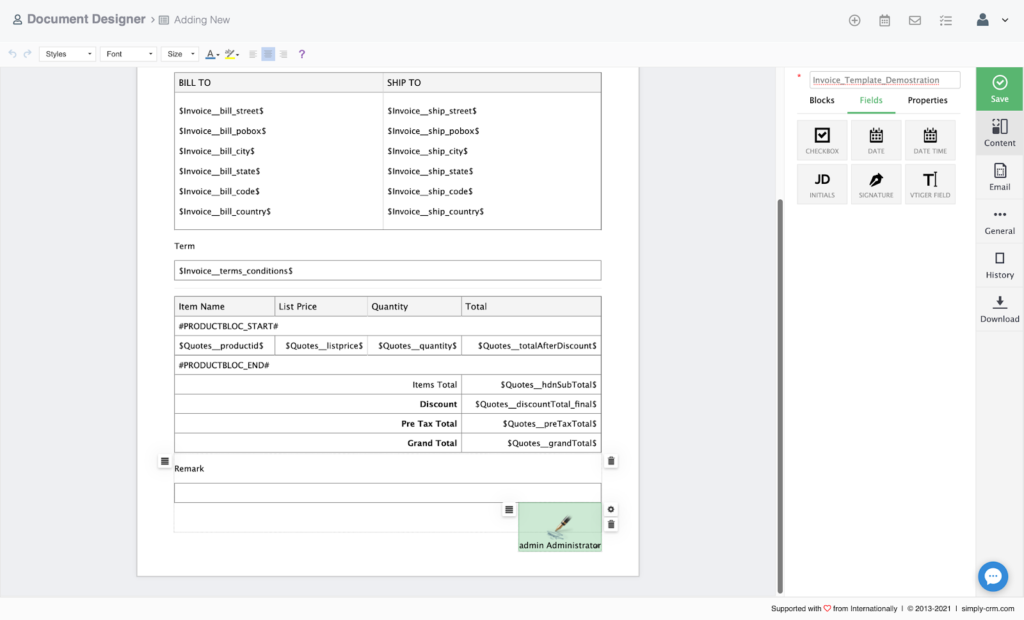
Simply CRM provides you with two options to fill in the signature. You can either upload an image of your signature, in which case it acts as a regular image, or write out the signature manually.
To upload an image of your signature, you can just double-click the signature element. If you want to enter the signature manually, hover over the element and click the settings icon.
A new pop-up will appear and you’ll be able to draw your signature using your computer mouse, as we did in the image below:
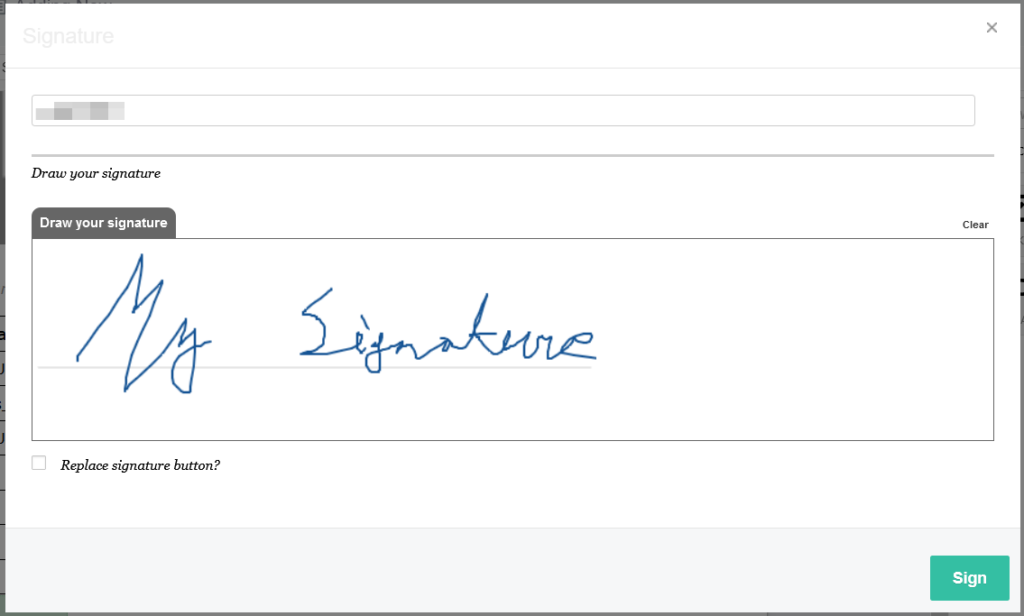
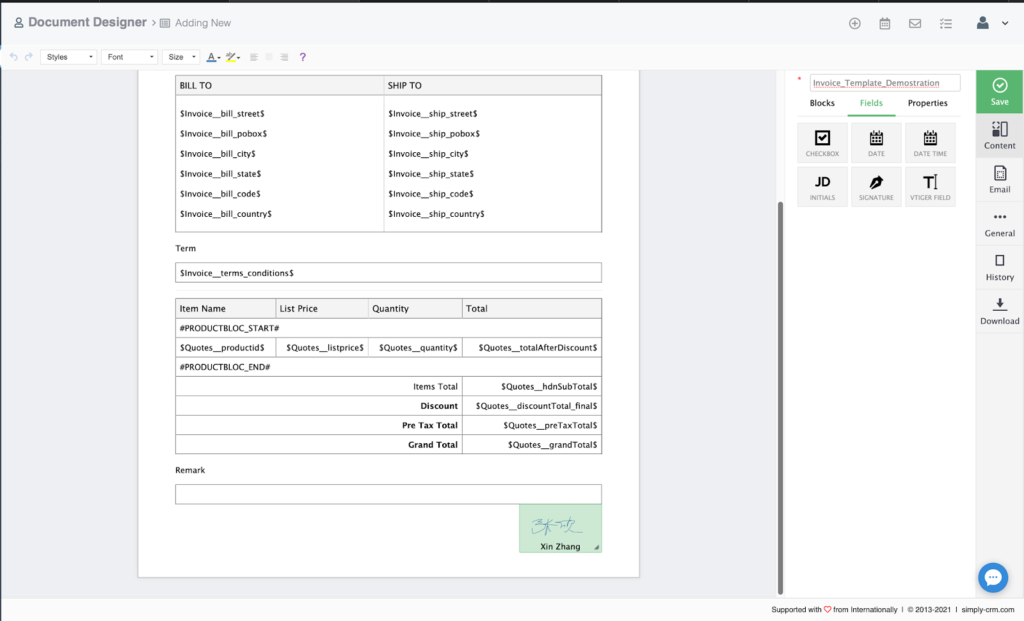
When you press the Sign button, the signature will be added to your template.
In the end, we’ll add a footer to our document and enter the company information in it. To achieve this, we’ll use the Page Footer element from the editor.
In the footer, we’ll enter the relevant company information as text.
Once the footer is added, we’re done creating our template.
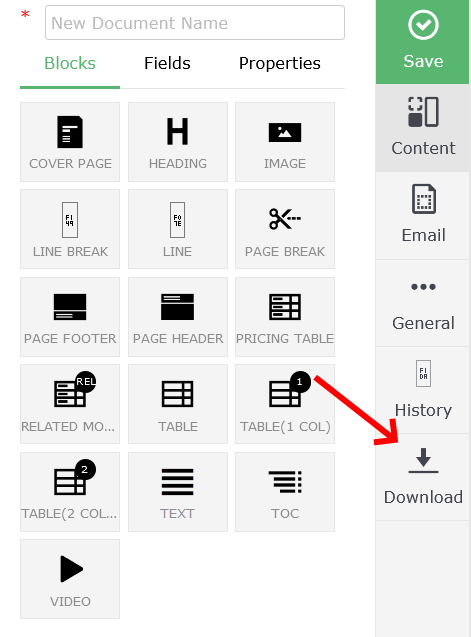
To check whether everything looks as intended, we’ll download the template as a PDF file, using the Download option from the editor.
When we open the PDF file, we see that the template looks exactly as we want it to appear.
How to use the template in Simply CRM
Once we’re done making and checking the template, we’ll test it by using it on one of the records in our instance of Simply CRM.
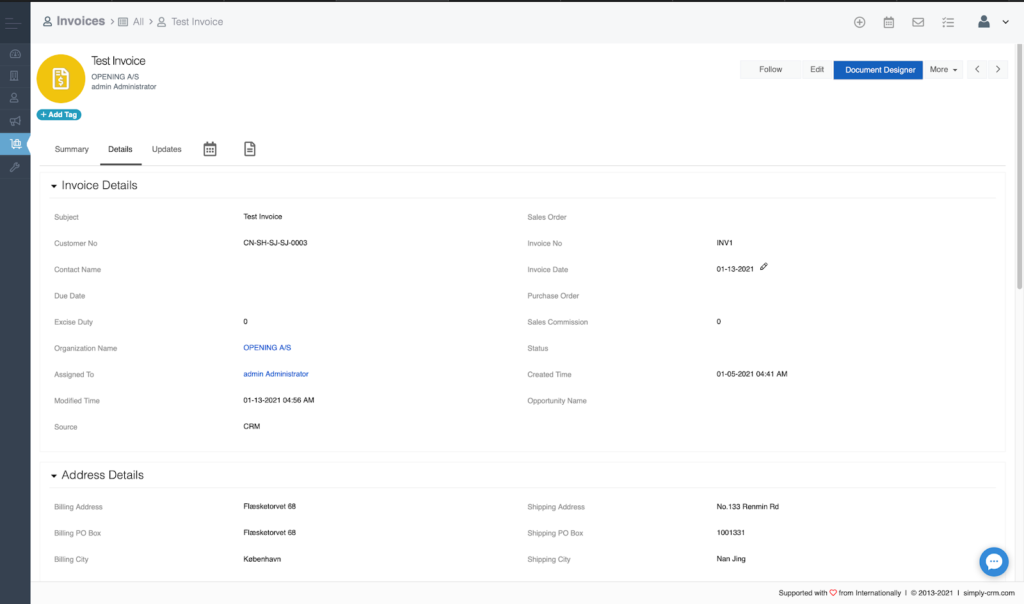
To do this test, we’ll move over to the Invoices module and select one of the invoices to open its detailed view.
In the detailed view, we see the Document Designer button in the top right corner.
By pressing the button, we’ll open the pop-up window that allows us to select the document template that we want to apply to this invoice.
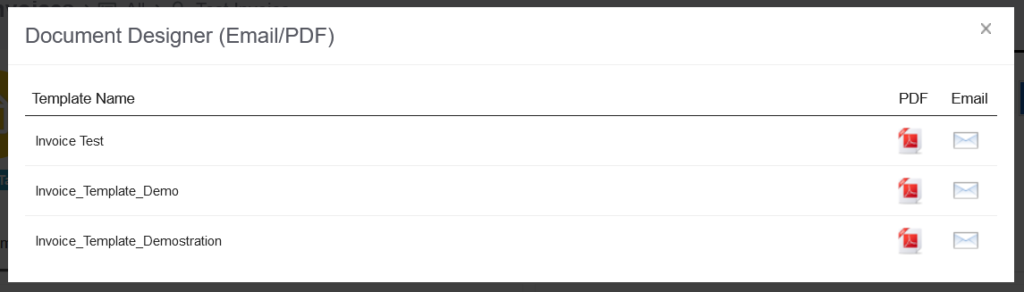
From the list, we’ll select our template and press the PDF icon. Simply CRM will automatically generate the PDF version of the invoice using the template we made earlier.
You can download and open the invoice to confirm the template is applied correctly. When we open our template, we can see that the template works exactly as intended.
With this check, we’re done with our guide on how to use the Document Designer in Simply CRM. If you have any questions or experience any issues while using Document Designer, feel free to reach out to our support team through live chat or email.


