Simply CRM allows you to configure buttons to quickly perform various actions from the detailed views of records in your modules, such as Contacts, Organizations, Deals, etc.
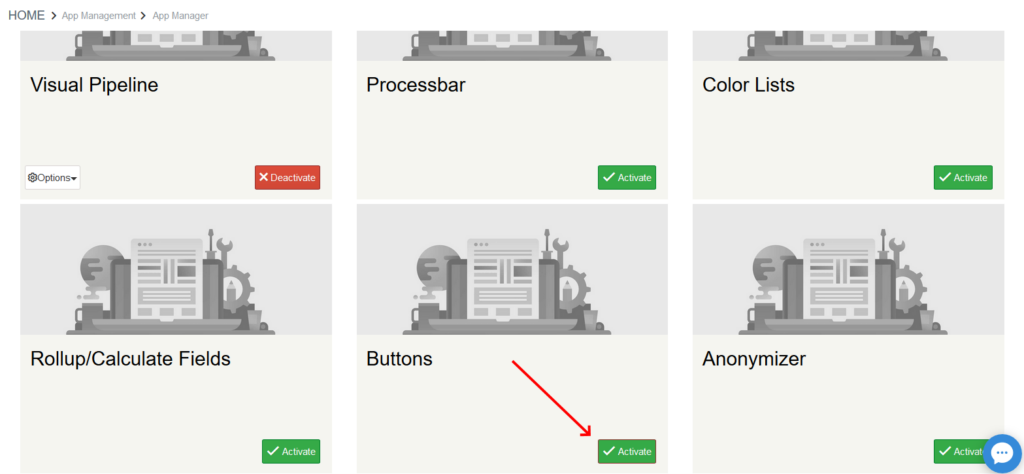
To start using buttons, open Settings and select Apps under App Management. In the new window, scroll down through the available applications until you find Buttons. Press on the Activate button in the bottom right corner to turn on the application.
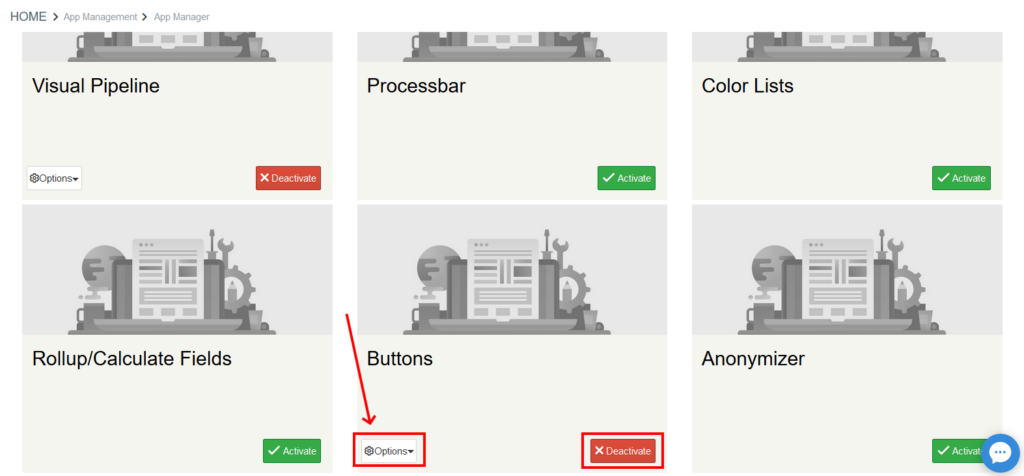
Once activated, the button will turn red and say Deactivate. On the left, a new button that will allow you to configure options or uninstall the application will appear. This means that you have successfully activated the Buttons app in Simply CRM.
How to configure buttons
Once you activate the Buttons app in Simply CRM, press on the Options button in the left corner of the Buttons box on the Apps page. Select Settings from the drop-down menu to open the buttons module.
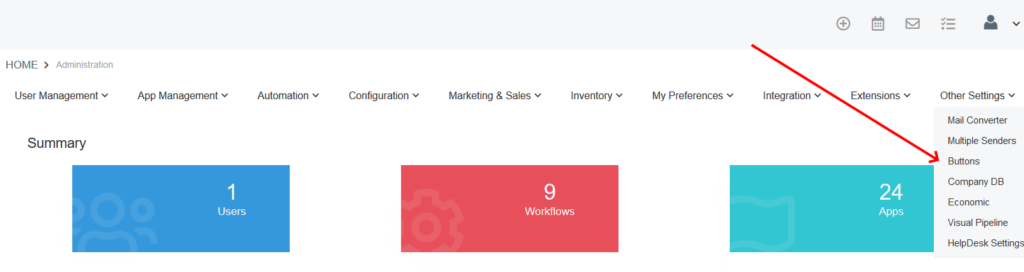
Alternatively, you can access the buttons module using the following path: Settings > Other Settings > Buttons.
In the module, press on the New Button button in the top left corner.
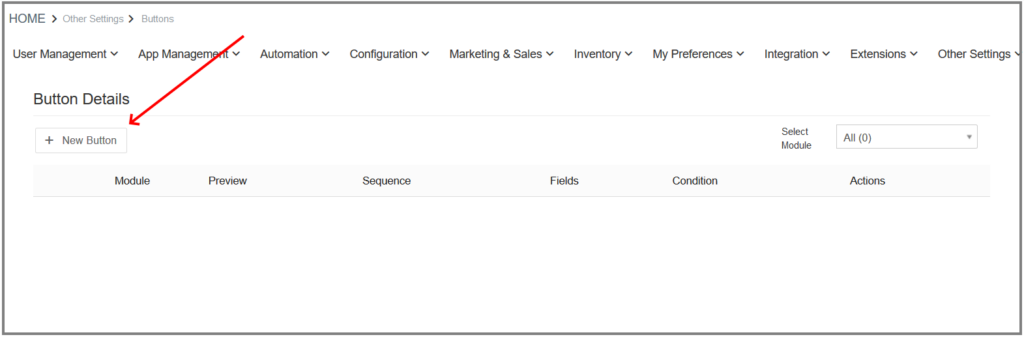
This will open a new window where you will be able to configure your button settings and details.
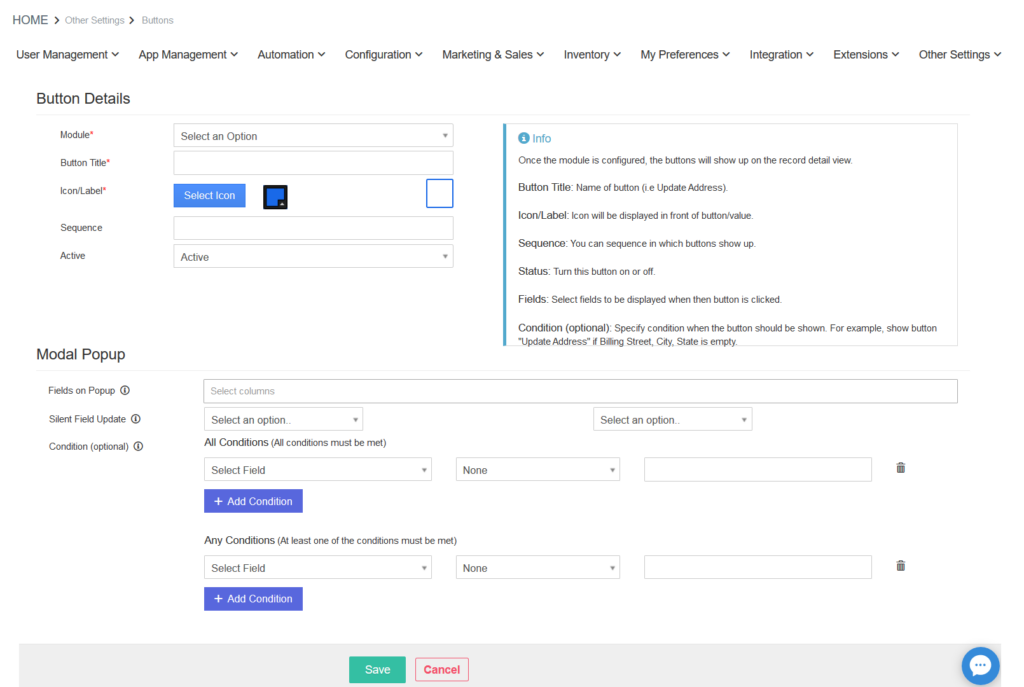
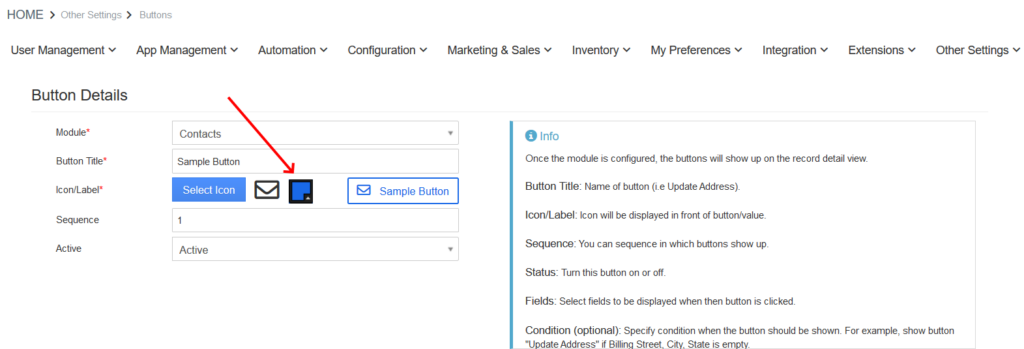
First, you’ll need to use the Module field to choose the module in which the button will be used. After that, you’ll be required to set the name of the button, i.e. the text that will appear on the button using the Button Title field.
You can also set the Icon/Label that will be shown on the button, as well as choose its sequence. Sequence determines the order in which the buttons will be displayed in the chosen module in case you create more than a single button for your module.
The Sequence field requires a numeric value. If you want the button to be shown, simply enter 1. Input 2 to place the button in the second place, etc. If you leave this field empty, the buttons will be displayed in the same order in which you created them using the module.
Important: By default, the first button is placed in the far right corner. All subsequent buttons will be placed to the left of the first button.
Here, you can also specify the button color. To configure the appearance of your button, simply press on the blue box next to the icon.
Active specifies whether the button will be available in the chosen module.
After you configure these basic settings, you’ll be able to set up modal popups for your button. These settings determine what actions will be performed as well as what data can be entered when you press the button.
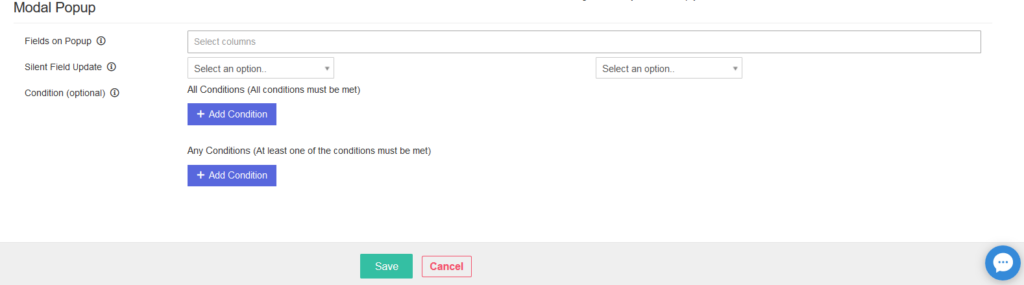
The Fields on Popup option allows you to configure what fields will be displayed when you click on the button. If you leave this option blank, Simply CRM will only update the information set in the Silent Field Update option. This will be done automatically and you will not see any popups when you press on your button.
In case you select fields in the Fields on Popup option, you’ll be required to set their values in the popup that appears when you click on the button. If you configure the Silent Field Update option together with Fields on Popup, the silent field will be updated only after you enter the values for the popup fields.
Silent Field Update allows you to automatically update certain fields, i.e. information, when you press the button.
Important: You won’t be able to change the Fields on Popup or Silent Field Update options without first selecting a module for your button.
Conditions allow you to specify certain criteria that will automatically activate or deactivate your button in the module. If you have multiple conditions and want all of them to be met, use the All conditions option. In case you need only one condition (out of many conditions) to be required, use Any conditions.
If you need to add new conditions, use the Add Condition button. Choose what field you want to be conditional and specify what criteria the chosen field needs to meet.

When you finish configuring all the button settings, press the Save button at the bottom of the screen.
How to use buttons
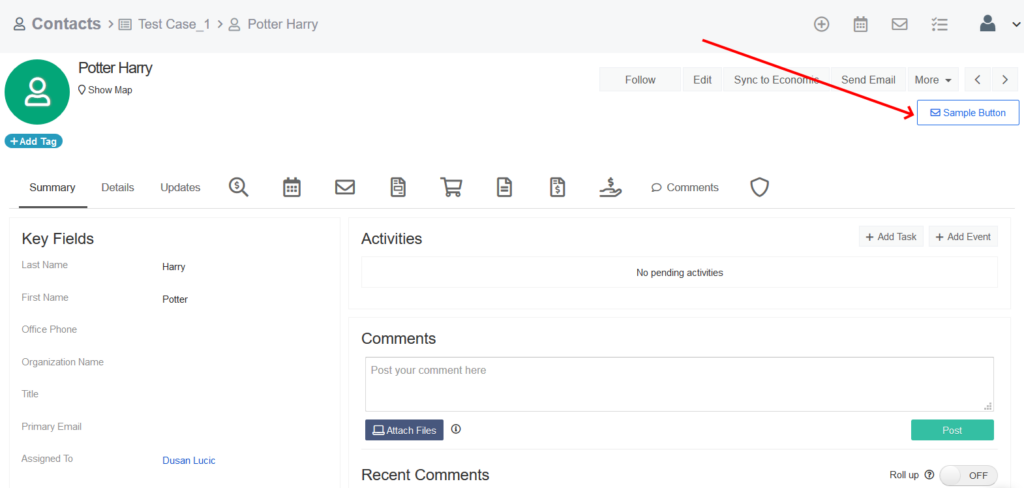
Once you configure your buttons, they’ll automatically become available in the modules you specified for them. For example, if you set Contacts as the module in the button settings, you’ll find your button when you open the detailed view of a contact record from the Contacts module.
To access the detailed view, open the module and select a record from the list view.
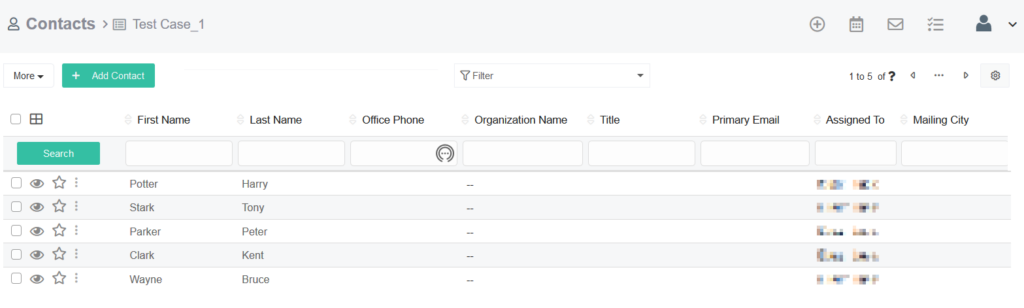
In the detailed view of a record, you’ll find your button in the top right corner.
When you press the button, you’ll automatically perform the actions specified in the Silent Field Update option or receive a popup, as defined in the Fields on Popup option. Below, you’ll see an example of a popup window that asks you to overwrite the First Name and Last Name fields, when you press on the button.
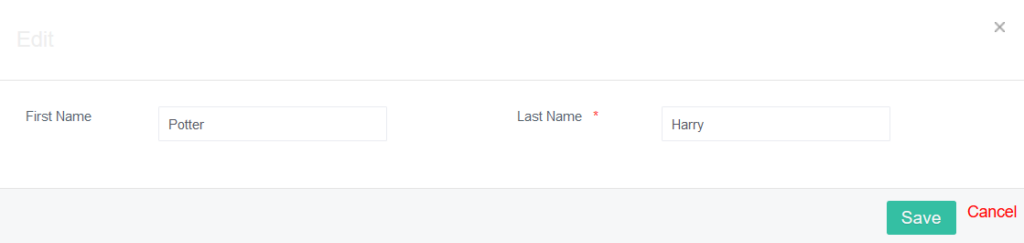
When you press Save, the button will automatically apply the changes you entered in the popup as well as perform the Silent Field Update changes defined in the button settings.


