Simply CRM allows you to utilize user profiles to control actions and restrict people from certain modules, fields and tools.
When you associate a user profile with a role in Simply CRM, you automatically apply the rights configured for the profile to all users with the specific role.
How to create user profiles
To create a new user profile, open Settings. Under User Management, opt for Profiles. Then, click on the Add Profile button in the top right corner.

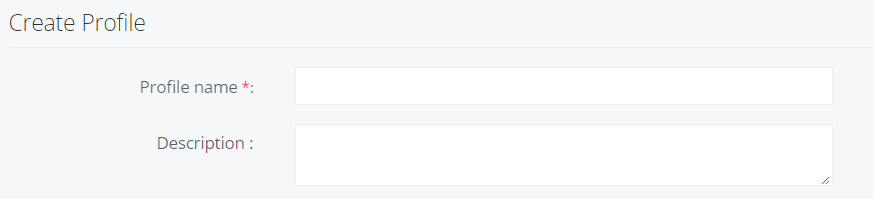
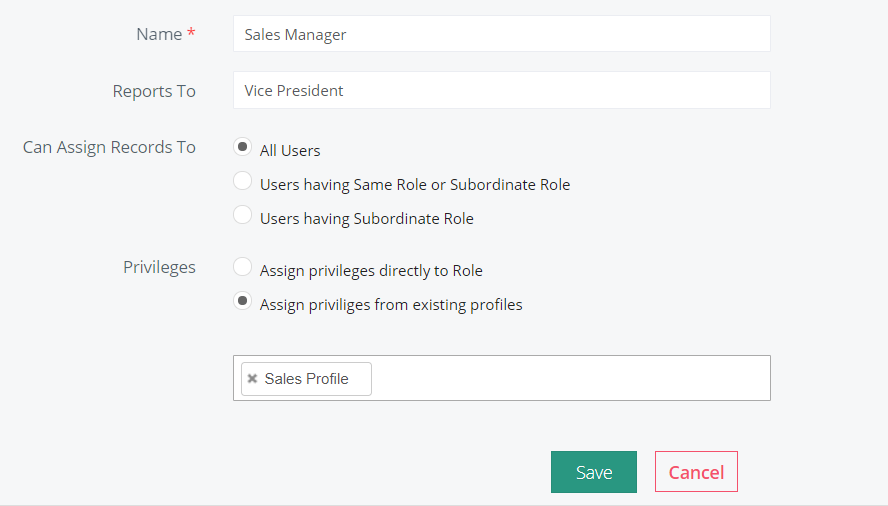
In the new window, enter the Profile name and description, but keep in mind that this information is only used for your reference.
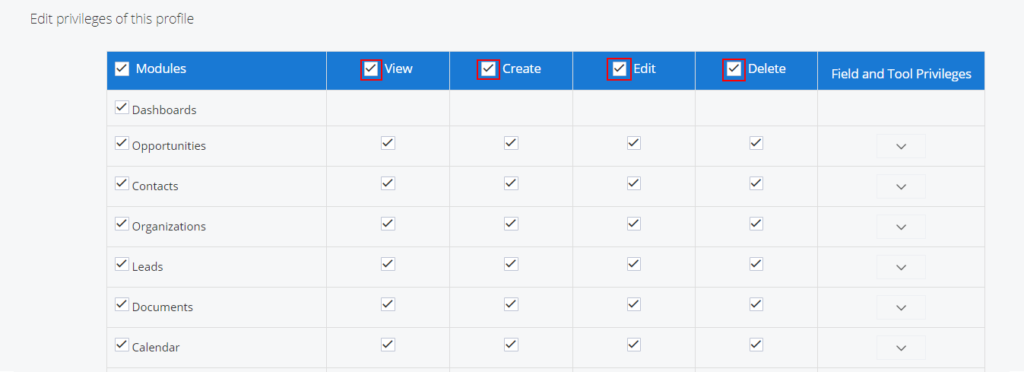
Define the profile privileges by checking or unchecking the boxes in the table of privileges. Press Save to confirm the profile settings.
Important: Admins can view the roles associated with user profiles on the Profiles page.
How to define user permissions
Simply CMR lets you define the user permissions to revoke or grant access to modules, fields and tools for specific user profiles.
You can define the permissions by enabling or disabling the checkboxes referring to specific operations, such as View, Create, Edit and Delete on each available module.
For example, if you don’t want your sales representatives to delete your records, you can uncheck the appropriate Delete box. When you save the settings, your sales reps will only be able to create, edit and view records – they will no longer have the option to delete them.
You can edit each permission separately. This means you can allow the user profile to edit the existing records, but not let him create new records, or vice versa.

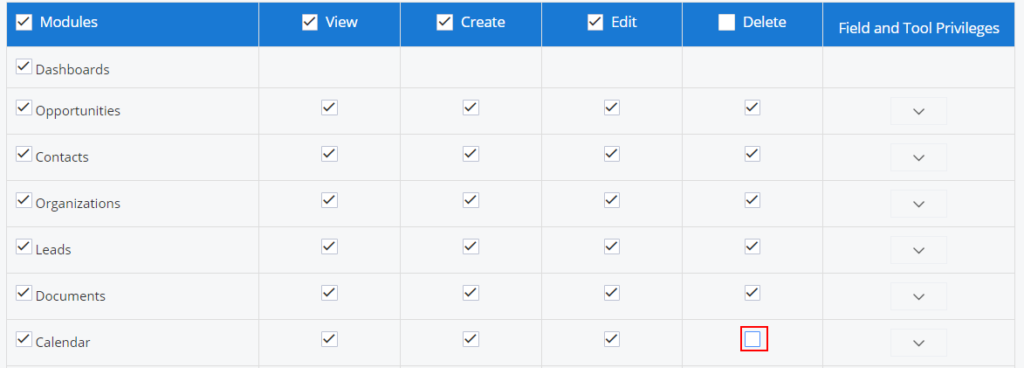
In case you want to disable the profile permissions on a certain module, you can simply uncheck the corresponding field. For example, if you don’t want your support team to be able to delete your calendar, you will need to uncheck the Delete box for the Calendar module.
You can also define the user profile permissions for fields and tools within a given module. To do that, simply open the drop-down menu in the Field and Tool Privileges column. There, you will be able to customize the permissions for each field and tool.
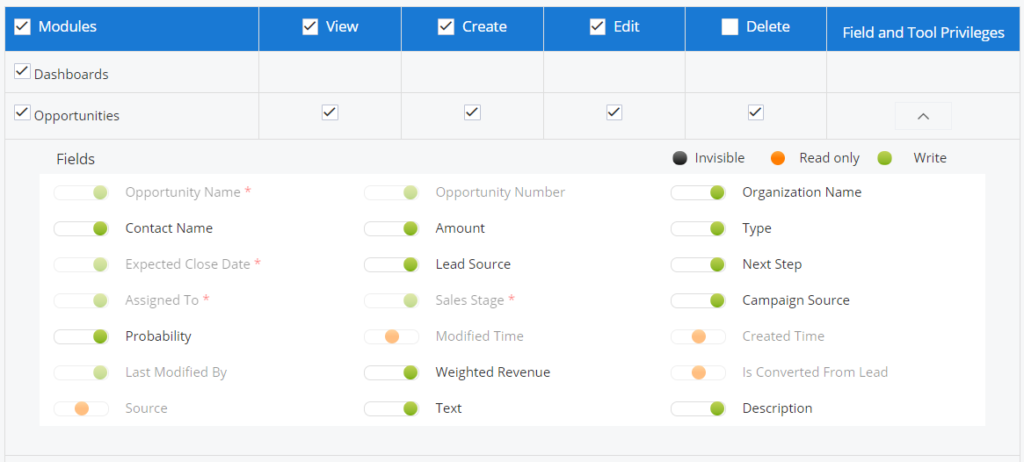
The toggle buttons are colour coded.
- Green is used to represent the permission to write. This means that the user can edit all fields in green colour.
- Orange is used to represent the permission to read only. This means that the user can only view the field – he cannot edit it or make any adjustments in it.
- Black is used to represent field invisibility. Fields coded in black colour are hidden and they are not visible to the user.
How to assign users to a profile
To assign a user to a profile, you will first need to associate the user profile with a role. The profile privileges are automatically assigned to all users with the chosen role.
Follow the instructions below to assign a user to a profile.
Go to Settings and select Profiles under User Management. Then, choose the preferred role and the corresponding profile.
Important: In Simply CRM, multiple users and profiles can be associated with the same role. In case you associate multiple users with a role, keep in mind that the users with the same role won’t be able to see each others’ records, unless you change the sharing rule away from private.
How to delete user profiles
If you no longer need a user profile, you can delete it and transfer its responsibilities to another profile.
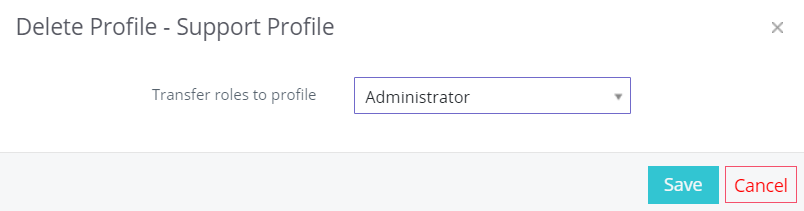
To delete a user profile, open the list view of Profiles and click on the ellipsis icon on the left side of the profile name and choose Delete.
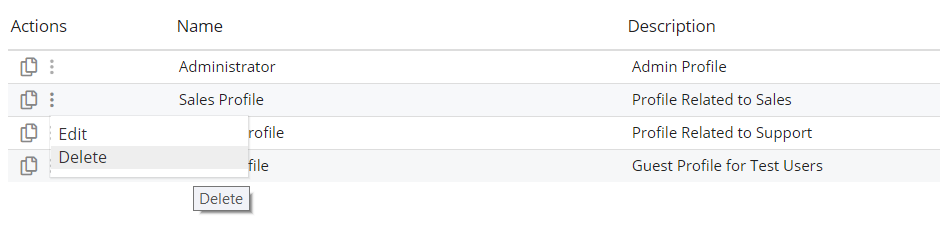
In the pop-up window that appears, you will be asked to transfer the roles to another profile. Choose the preferred profile and press Save.