Simply CRM was built to make business simpler and easier for everyone. With sales orders, our system helps you relieve the work load on your team and automate a variety of monotonous tasks.
By simply filling out the recurring invoice information in your sales order, you can automate the entire invoicing process. All you need to do is choose the recurrence interval, the start and end period of the sales order and select the invoice status.
Simply CRM will do the rest: the platform will automatically create and send invoices to your customers, allowing you to focus on more important tasks in your organization.
For more details on how to set up recurring invoices for subscriptions, check our guide below.
How to set up recurring sales orders
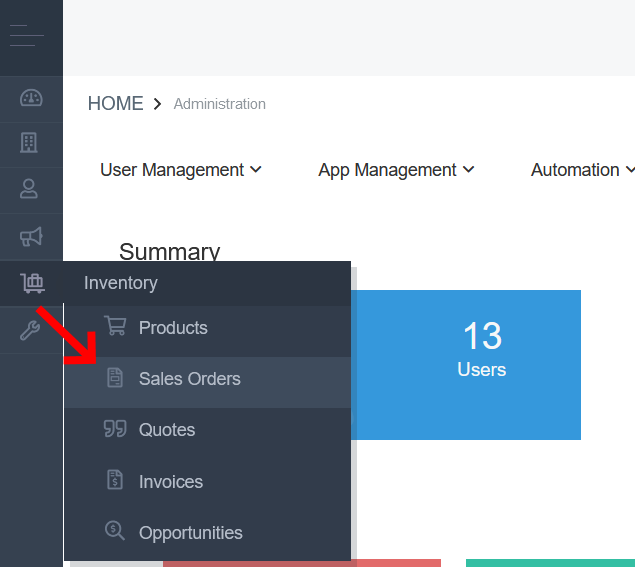
In order to set up recurring invoices, we first need to open the Sales Orders app in Simply CRM. You can access Sales Orders by selecting them from the Inventory tab on the left.
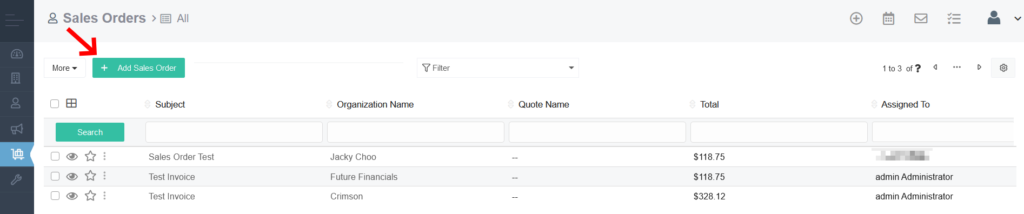
In the Sales Order app, press the Add Sales Order button in the top left corner.
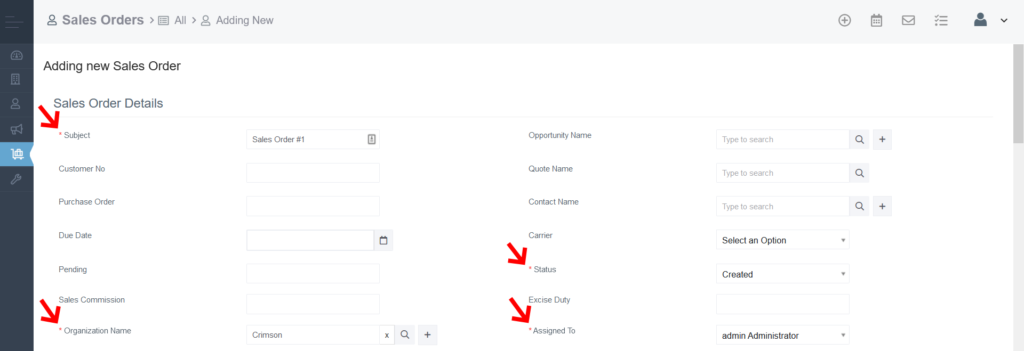
In the new window, you’ll need to enter your sales order details. Please note that the following fields are mandatory:
- Subject
- Status
- Organization Name
- Assigned To
If you do not fill out the mandatory fields, you will not be able to create your sales order.
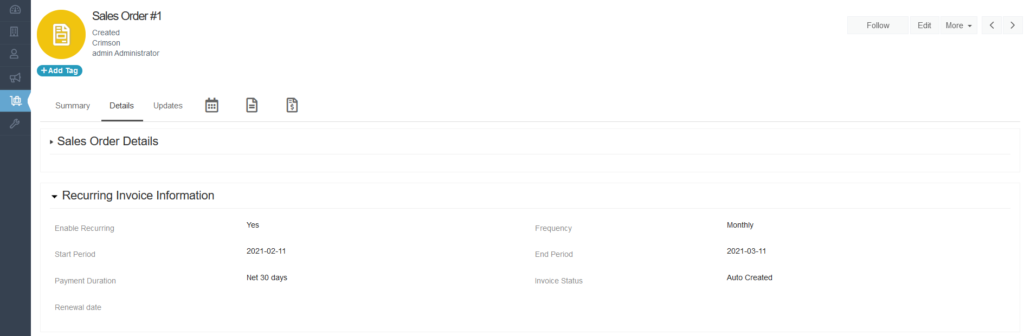
Next, you’ll need to fill in the Recurring Invoice Information section.

To begin, click on the box next to the Enable Recurring option to turn on the recurring invoices.
Then, enter the start and end period by selecting two dates between which the sales order will be active.
You’ll also need to enter the payment duration, which will be shown on the invoice, and the invoice frequency. The frequency determines how often the recurring invoice will be sent.
In the end, you’ll need to select the invoice status, which will be automatically given to all invoices that you generate using the recurring sales order.
Important: The invoice status does not affect the sales order. Whichever status you choose, the invoice will be sent to your customer.
After you enter the Recurring Invoice Information, you should move on to the Address Details section.
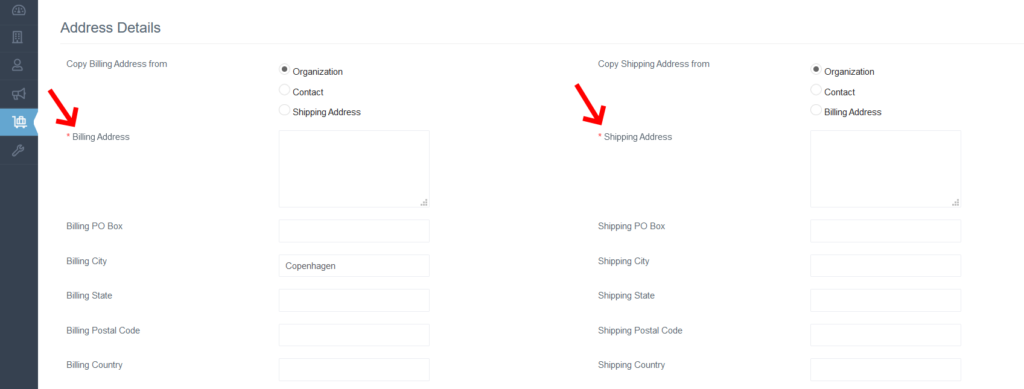
Here, you’re required to enter the billing address and the shipping address of your client. All other fields are optional.
In the next section, you can add the terms and conditions for your sales order as well as an optional description of the order.
Lastly, you’ll need to enter the invoice details.
The Item Name field is mandatory in this section. You can enter the product or service that you’re selling by typing it out in the item name field and clicking on it from the drop-down. Alternatively, you can click the cart icon to browse through all the products and services that you have in your instance of Simply CRM.

Once you select your item, all other fields will be populated automatically.
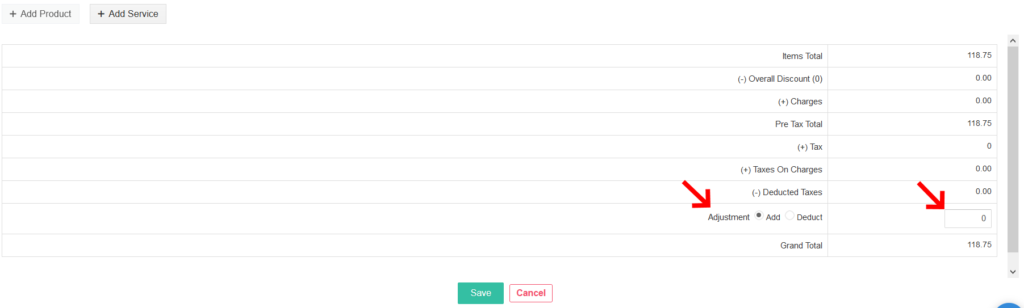
Below the item details, you’ll see your invoice summary.
There, you can make any necessary adjustments by increasing or decreasing the price, depending on your agreement with the client.
When you’re done configuring your sales order, press Save.
You’ll be redirected to the detailed view of your sales order, where you can double-check all the information that you entered.
Depending on your configuration, your clients will start receiving recurring invoices as defined in the Details tab of your sales order.