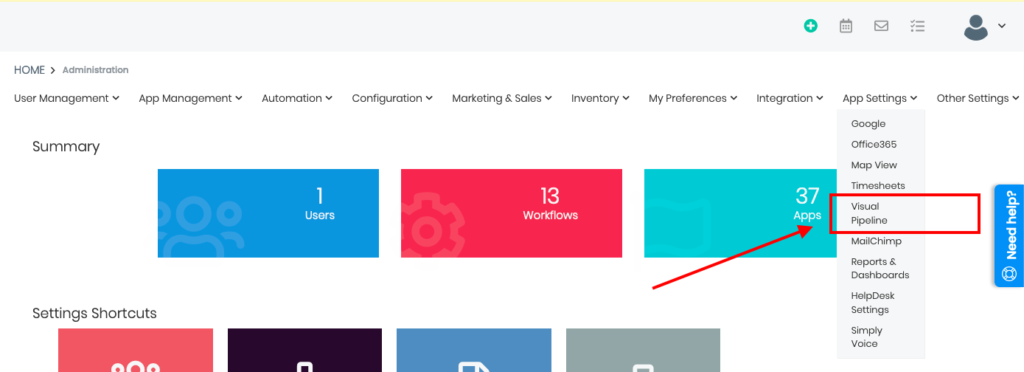
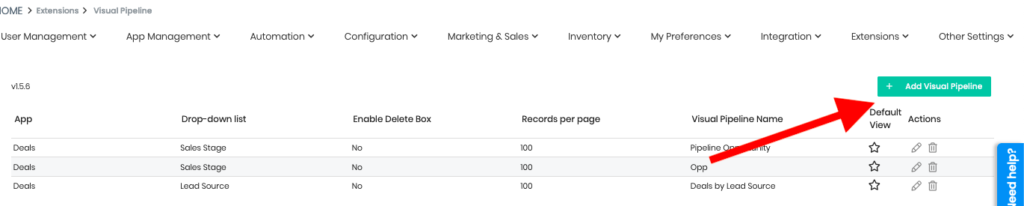
To create a custom pipeline go to your account Settings → App Settings and select Visual Pipeline option.
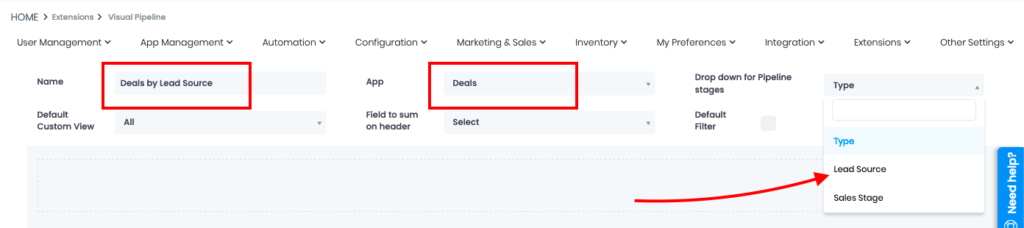
In this window you are able to give a name to your new pipeline, let’s say Deals by Lead Source.
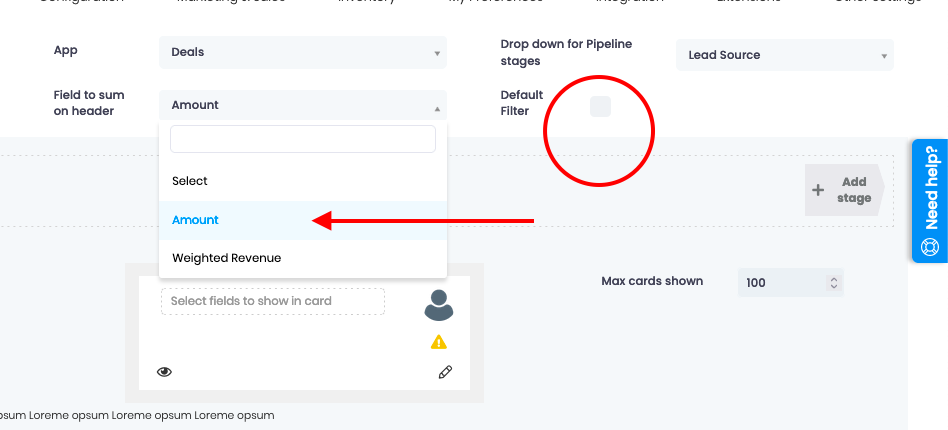
Select the App from which the system will pull the data for this pipeline, for our example let’s use Deals.
And choose the drop-down field for Pipeline Stages, in our case Lead Source.
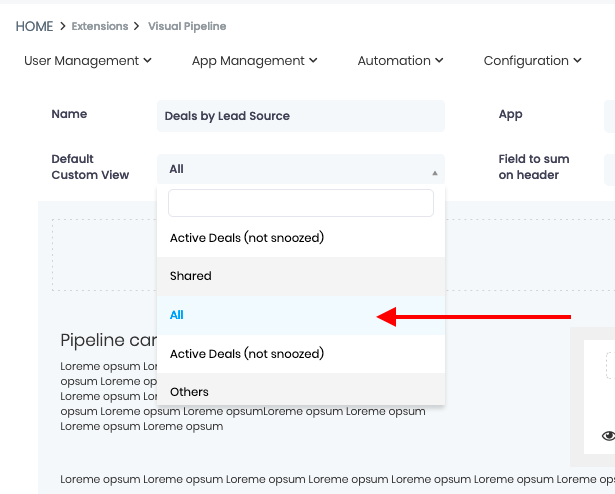
After that, you can select the list to which this Pipeline will apply. We will choose All Deals.
You can then select the field to sum up on the header of your columns, and decide whether you want this Pipeline to be the default filter.
Next options allow you to manage the visual aspect of your Pipeline.
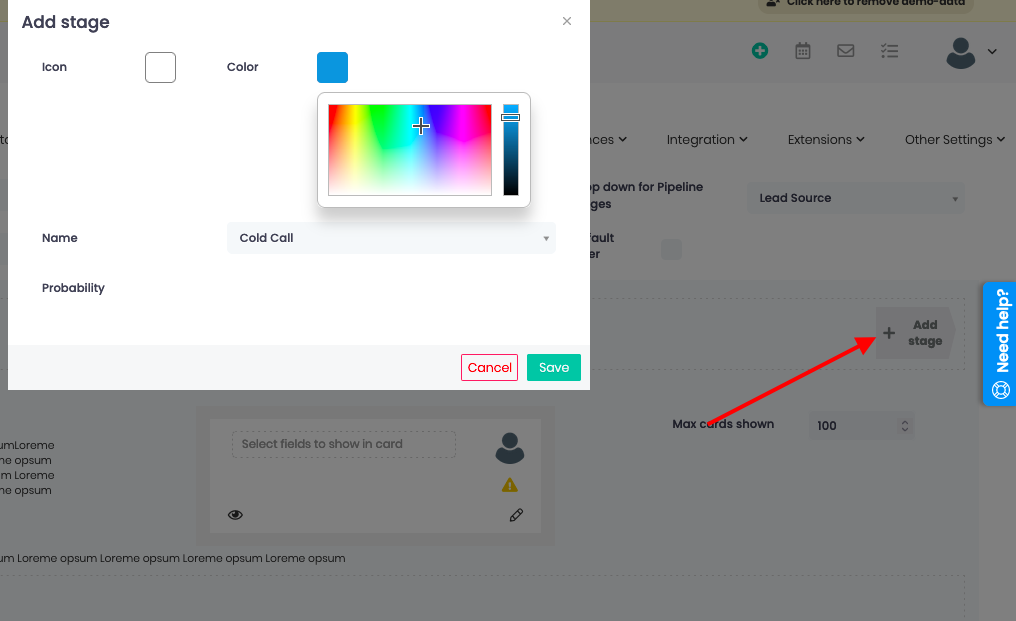
Add stages of the Pipeline and select the color of that stage by clicking on the Add Stage button. There is no limit to how many stages you can add.
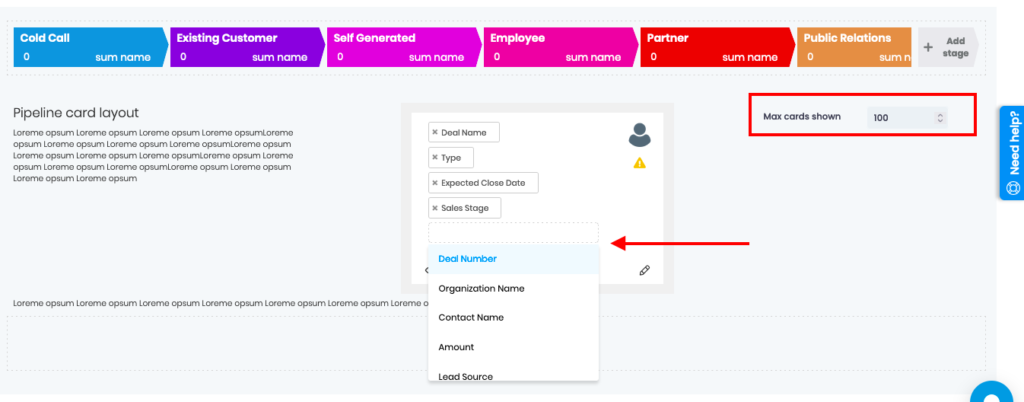
Then, select the fields that you want to have reflected in every pipeline card and the number of cards to be displayed on the screen.
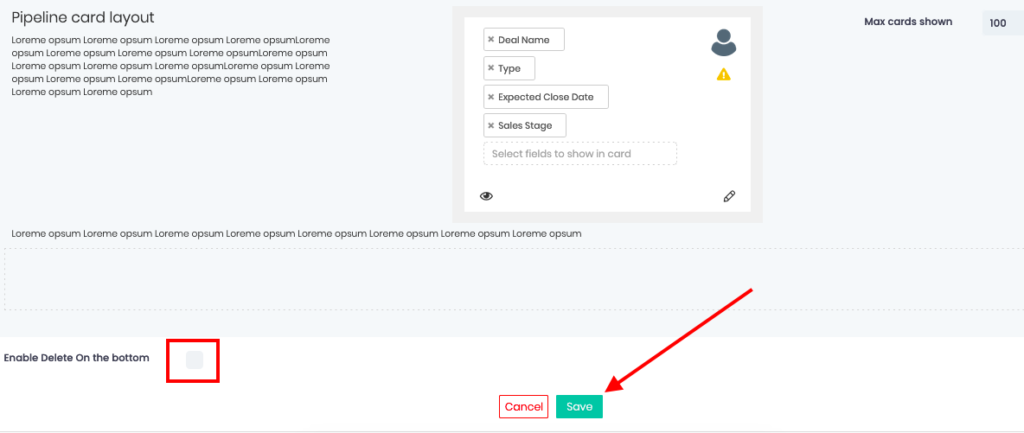
You can then decide whether to add an option to delete the card, by ticking the “Enable Delete On the bottom” checkbox.
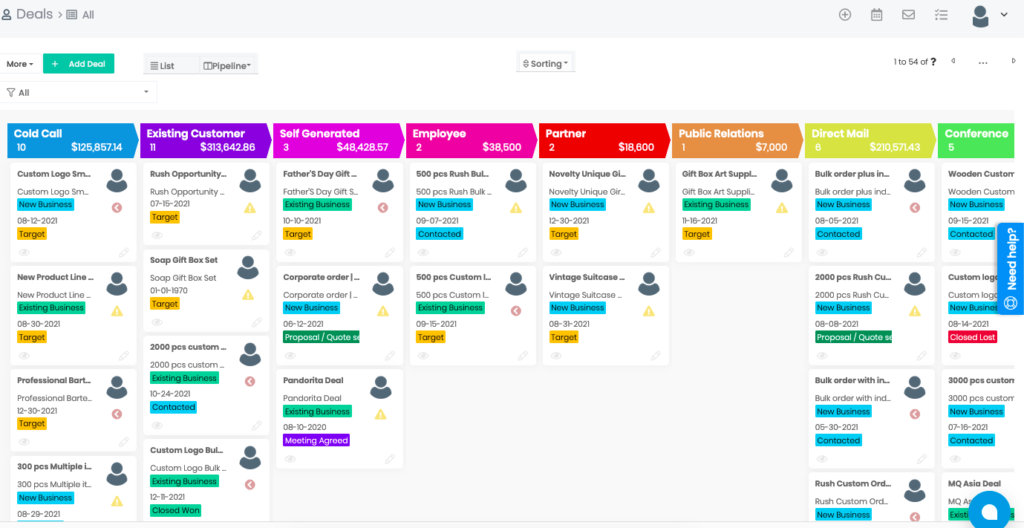
Your new Pipeline has now been added to the Deals App. You can select it from the Pipeline view drop-down at the top of your List.
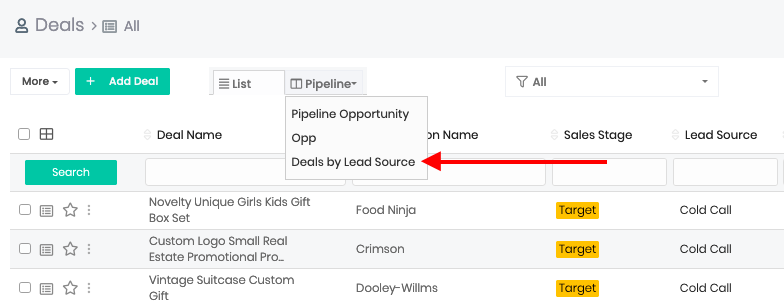
The custom pipeline is complete and ready to be used.
Should you need any help, send us a note to support@simply-crm.com.
