Simply CRM allows you to anonymize your contacts, leads and organizations data to provide your clients with an additional layer of privacy and security. Further, it protects private and sensitive data by removing personally identifiable information from the system.
By setting up the Anonymizer module, you can choose what data can be anonymized as well as who can perform the anonymization within your company. This allows you to protect your and your clients’ activities while maintaining the data integrity.
How to set up the Anonymizer module
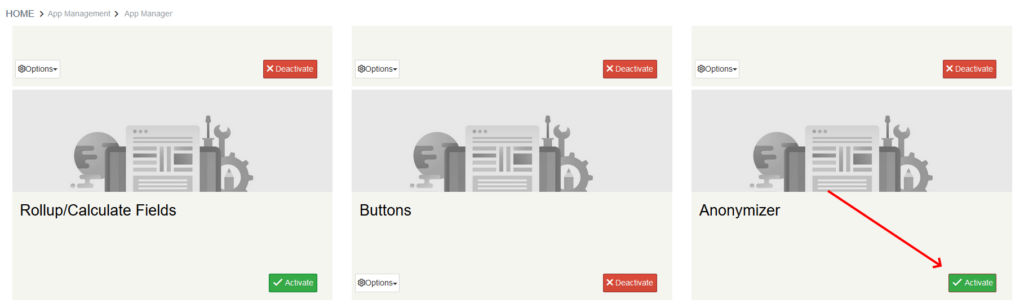
If you want to anonymize your company’s data, you’ll first need to activate the Anonymizer module. To achieve this, open Settings and select Apps under App management.
Scroll through the list to find the Anonymizer block among the available apps. Then, press on the Activate button in the bottom right corner.
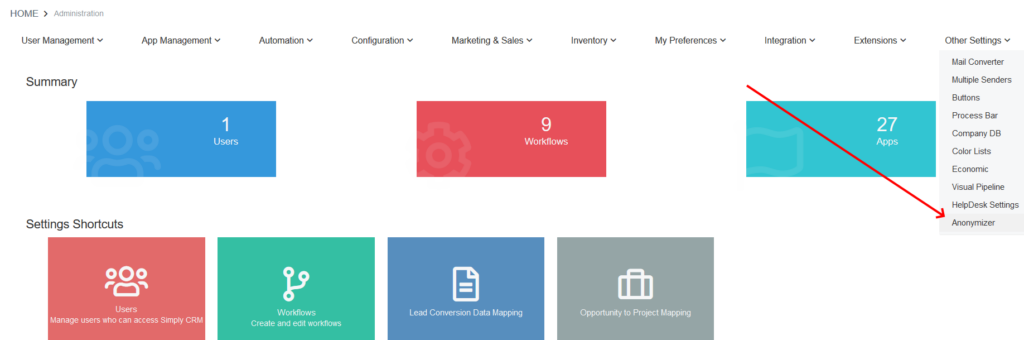
When you activate the module, go back to Settings. Select Other Settings and choose Anonymizer from the drop-down menu.
In the new window, press the Edit button to start configuring the Anonymizer settings.
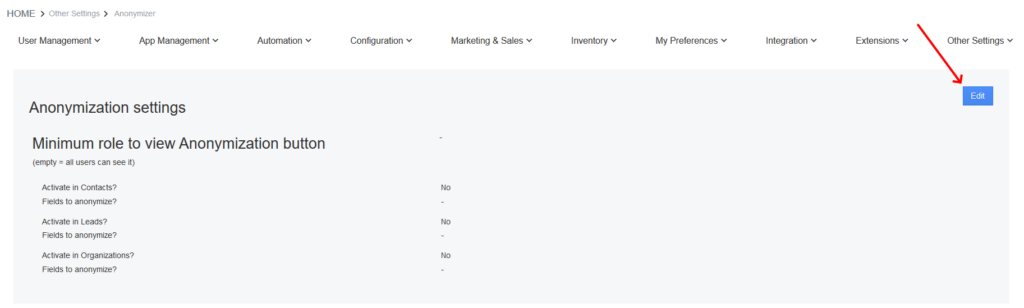
As you can see in the image below, Simply CRM provides a clear overview of all anonymization options.
In the first field, you’ll need to specify what users can view and use the Anonymizer button in your instance of Simply CRM.
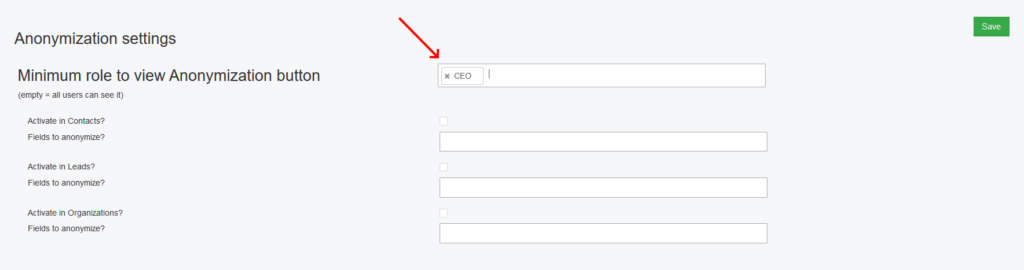
We recommend that you only allow the most trustworthy people in your organization to use anonymization. If you leave this field empty, all users will be able to anonymize your records.
Important: Once anonymized, the personal data of your records will be lost permanently. You will not be able to recover your data.
When you specify the minimum role necessary to anonymize data, you can select what modules will have the anonymization option activated. Simply CRM allows you to data anonymization in three modules: Contacts, Leads and Organizations.
You can activate the Anonymizer in each of these modules by simply pressing the check box next to the module name.
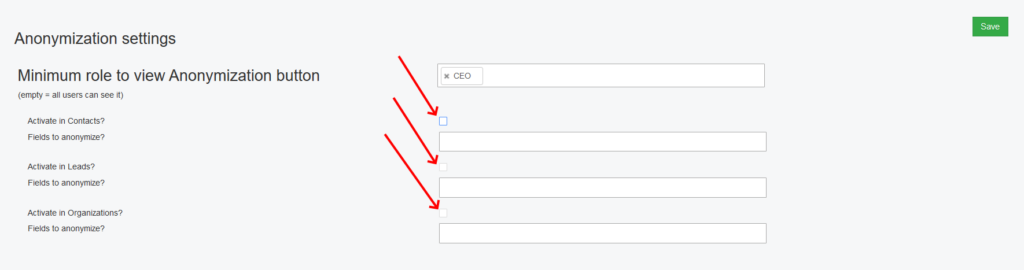
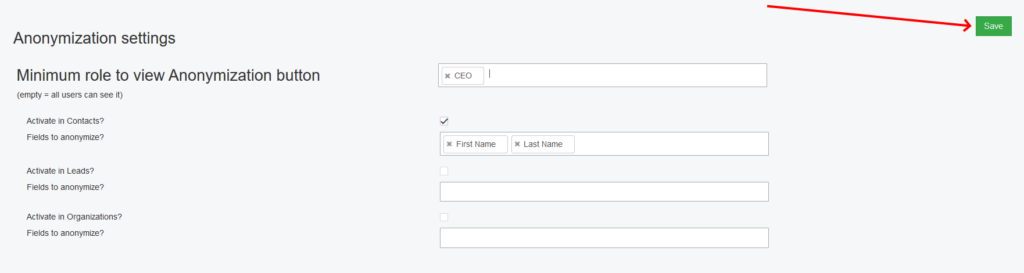
For each module, you’ll be able to configure what fields will be anonymized by selecting them from the drop-down.

When you finish configuring the Anonymizer settings, press the Save button in the top right corner.
How to anonymize your records
Once you configure the Anonymizer, you’ll be able to use it within the modules you specified in the anonymization settings.
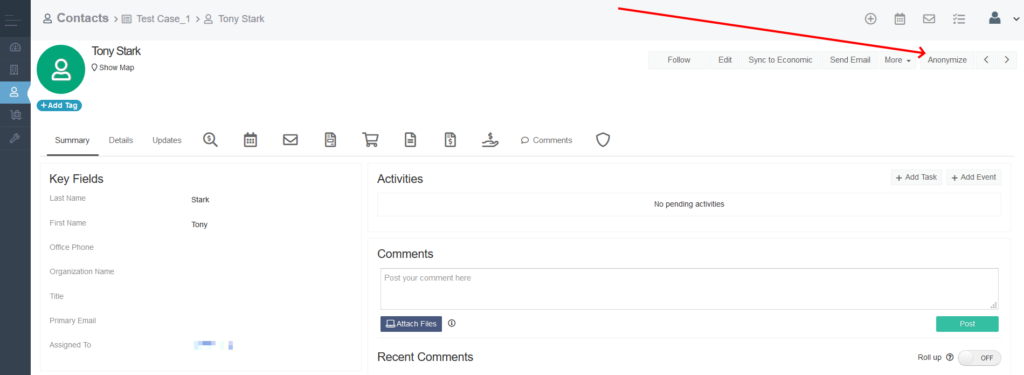
For example, if you configured the Anonymizer as shown in the previous screenshot, you can open the Contacts module to test the anonymization process.
To access Contacts, press on the person icon on the left menu.

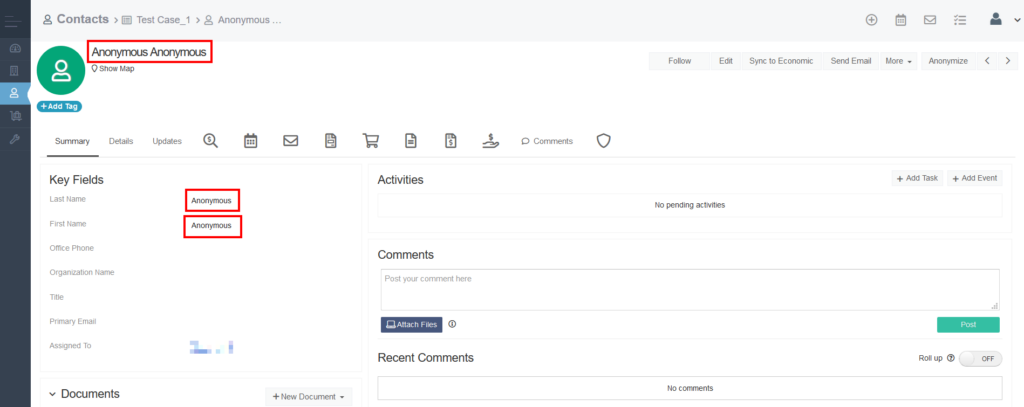
Press on a contact record in the module to open its detailed view. There, you’ll find the Anonymize button in the top right corner.
When you press the button, you’ll be asked to confirm the anonymization. Remember that this action is not reversible. Once anonymized, the personal data is lost forever.

Press Yes to confirm the action.
You can see how the data anonymization affected our record in the screenshot below. As we defined in the Anonymizer settings earlier, First Name and Last Name fields were changed to Anonymous.