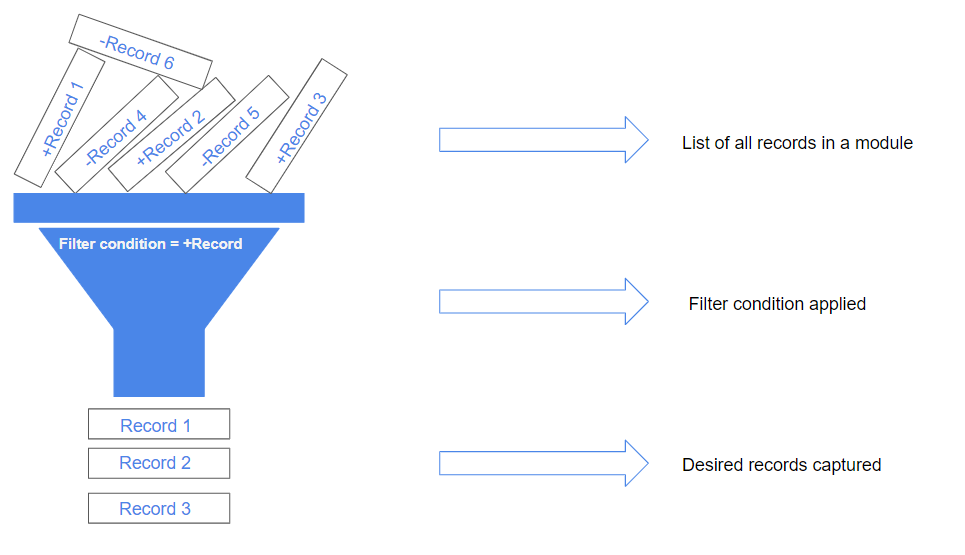
Simply CRM allows you to use filters or views to separate records from a group of records and place them in different buckets.
For example, you can filter the records in a specific area and assign them to a Sales Agent located within the same area. Further, you can perform various operations on the filtered records, including mass edits, deletion, sending emails etc.
How to create custom filters
Now that you have familiarized yourself with the concept of filters, let’s explain how you can create custom filters in Simply CRM. You can follow the instruction that will be given below to create filters on whatever module you want.
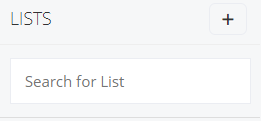
On the left menu, open Sales and select Deals, for example. Press the plus icon next to the Lists header on the left side.
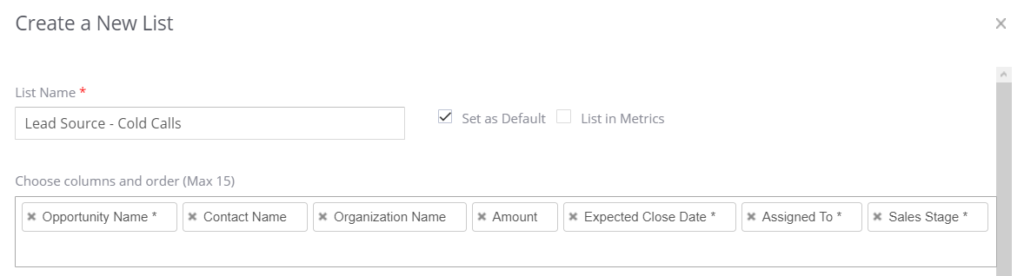
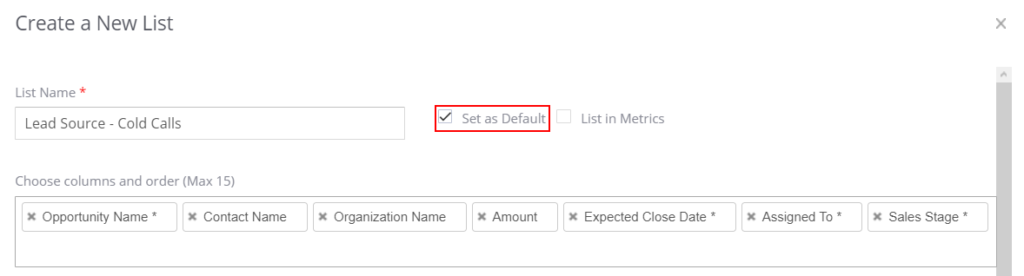
In the resulting pop-up window, enter the list information and select the columns that you want to be displayed in the custom view. Keep in mind that you cannot select more than 15 columns here.
After that, you will need to specify the conditions for the filter. To make your job easier, Simply CRM allows you to choose from a set of predefined conditions.

You have two options for the conditions: All Conditions or Any Conditions.
All Conditions uses the AND condition to filter your records.
For example, Condition 1 AND Condition 2 AND Condition 3 displays the results if and only if ALL conditions are met. If one condition is not satisfied, no query will be executed.
Any Conditions uses the OR condition to filter your records.
For example, Condition 1 OR Condition 2 OR Condition 3 displays the result if at least one condition is met. If one query fails, the others will still be executed.
Important: Simply CRM enables the AND condition between All Conditions and Any Conditions by default. This helps you group the conditions.
You can use predefined or custom filtering criteria.
How to configure permissions
After you create a filter, you will need to configure permissions to get the most of your filter.
Set as default
The Set as default option allows you to configure your filter to automatically filter your records and hide the irrelevant ones. When you check this box, the filter will be made default for all users in your Simply CRM instance.
List in metrics
To enable this option, check the box beside List in Metrics. Move to the dashboard and go to Add Widget > Key Metrics.
Provide viewing permission
You can restrict the list to certain users by using the Share the list option. There, you can add or remove the users who can view the list.

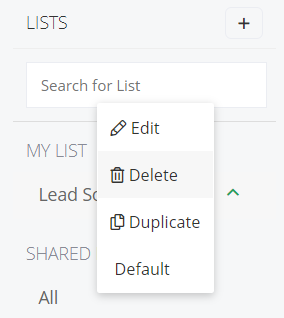
Delete a list
To delete a list, simply open the drop-down menu to the right of the list names. Select the Delete option.